
Transmission - Installation
8-7prose procedureInstallation
- 1Place the transmission on the transmission jack, and raise to the engine level.
- 2Check that the two 14 mm dowel pins are installed in the clutch housing.
- 3Loosely install the transmission mount bolts, then torque in the sequence shown.

- 4Secure the transmission to engine with the engine side mounting bolt (12 x 1.25 x 70 mm) and torque to 68 N·m (6.8 kg-m, 50 lb-ft).
- 5Install the transmission to rear transmission mount bracket.
- 6Install the transmission to front and side transmission mounts.
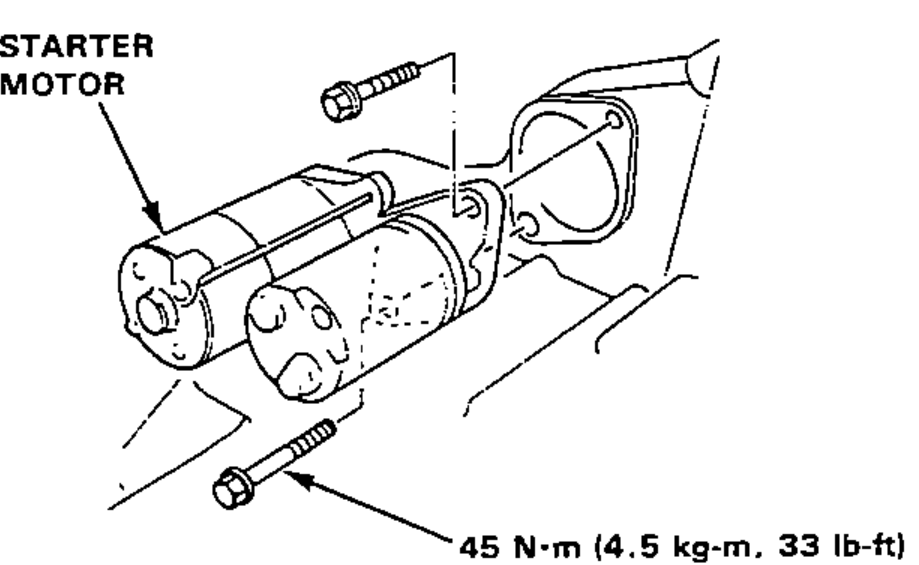
- 7Install the starter motor.
- 8Remove the transmission jack.
- 9Remove the chain hoist by removing the hanger plate and 10 mm bolts.
- 10Install the shift lever torque rod and shift rod.On reassembly, slide the retainer back into place after driving in the spring pin.

- 11Install the header pipe bracket.
NOTE
※ Special bolt: Replace.
| Specification | Value |
|---|---|
| Engine side mounting bolt (12 x 1.25 x 70 mm) | 68N·m |
| Side transmission mount | 55N·m |
| Transmission mount bolt | 60N·m |
| Front transmission mount | 40N·m |
| Starter motor bolt | 45N·m |
Engine side mounting bolt (12 x 1.25 x 70 mm)
68N·m
Side transmission mount
55N·m
Transmission mount bolt
60N·m
Front transmission mount
40N·m
Starter motor bolt
45N·m