Lower Ball Joint Replacement
12-15prose procedure- 1Remove the knuckle (page 12-10).
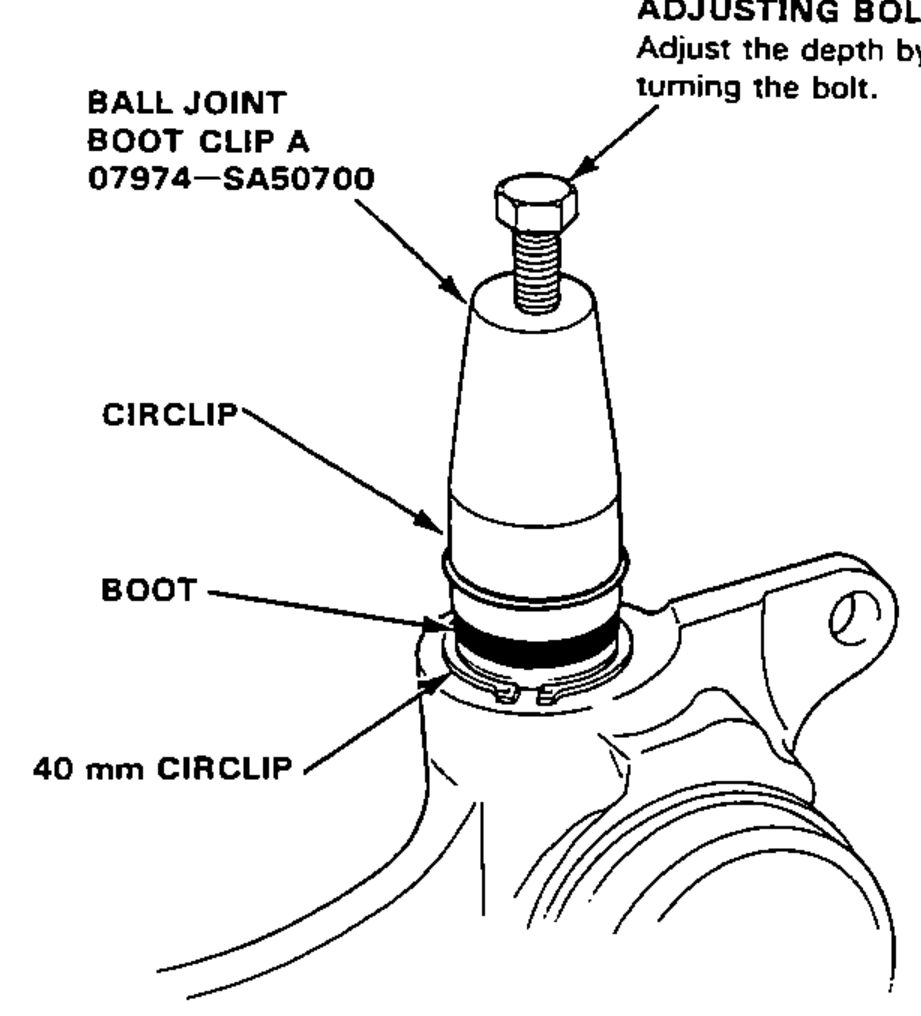
- 2Remove the boot by prying the snap ring off.
- 3Remove the 40 mm circlip.
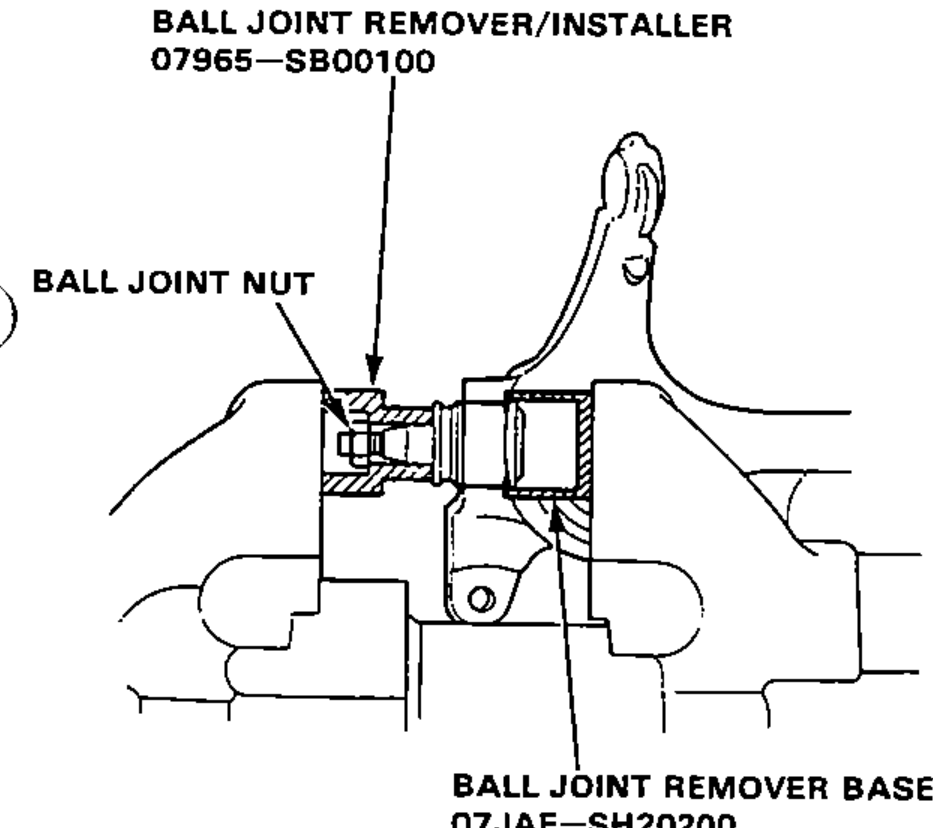
- 4Install the special tool on the ball joint and tighten the ball joint nut.
- 5Position the special tool over the ball joint as shown then set the assembly in a vise. Press the ball joint out of the knuckle.
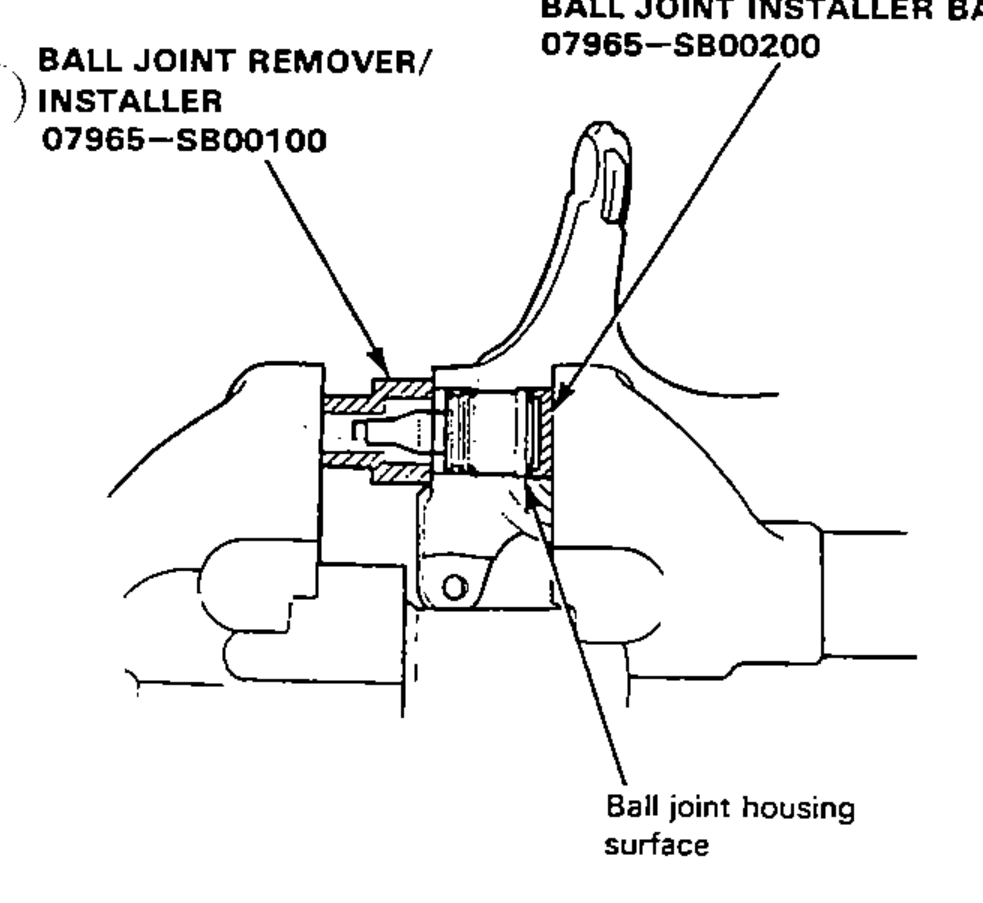
- 6Place the ball joint in position by hand.
- 7Install the special tools over the ball joint as shown, then press the ball joint in.
- 8Install the 40 mm circlip.
- 9Adjust the special tool with the adjusting bolt until the end of the tool aligns with the groove on the boot. Slide the clip over the tool and into position.