Rear Window - Installation (cont'd)
14-22prose procedureInstallation (cont'd)
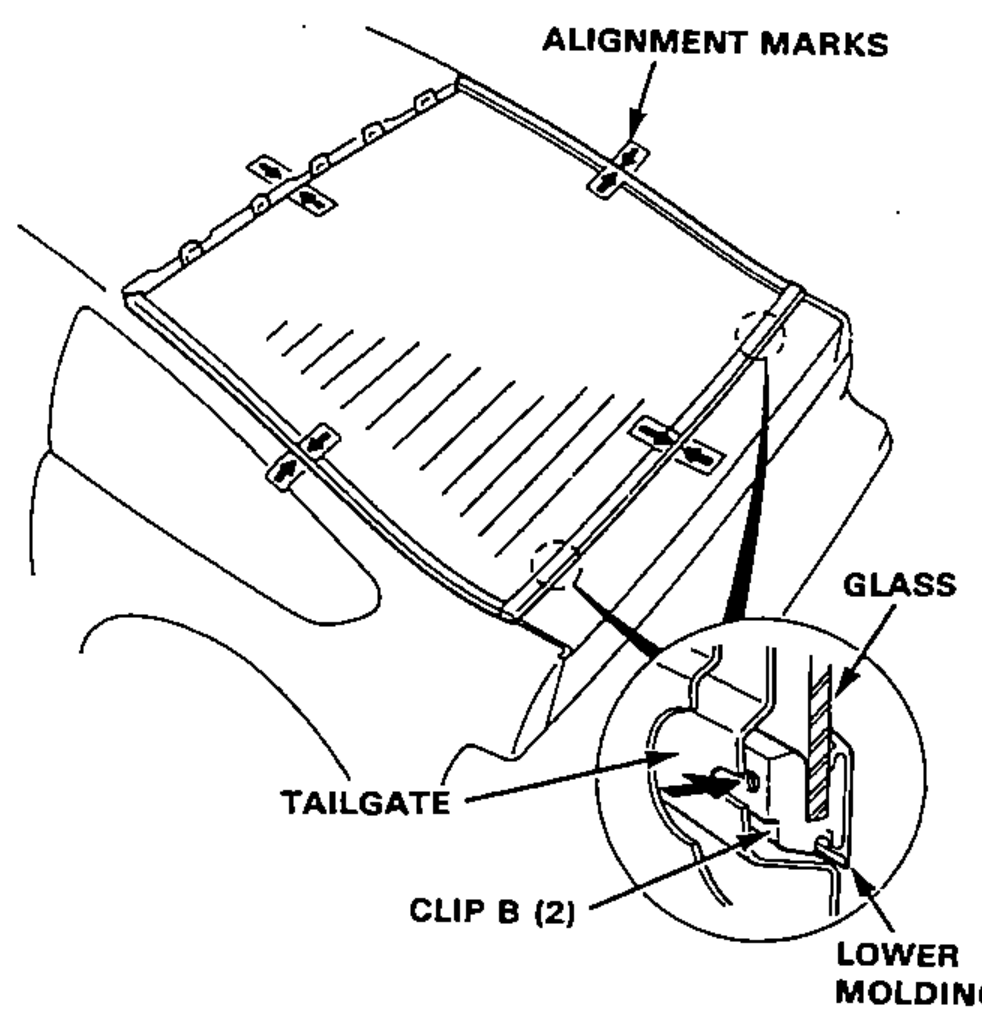
- 7Set the glass upright on the tailgate, and center it in the opening. Mark the location by marking lines across the glass and body with a grease pencil at the four points shown.Check that the lower molding clip B mount holes and tailgate holes align with each other as shown.
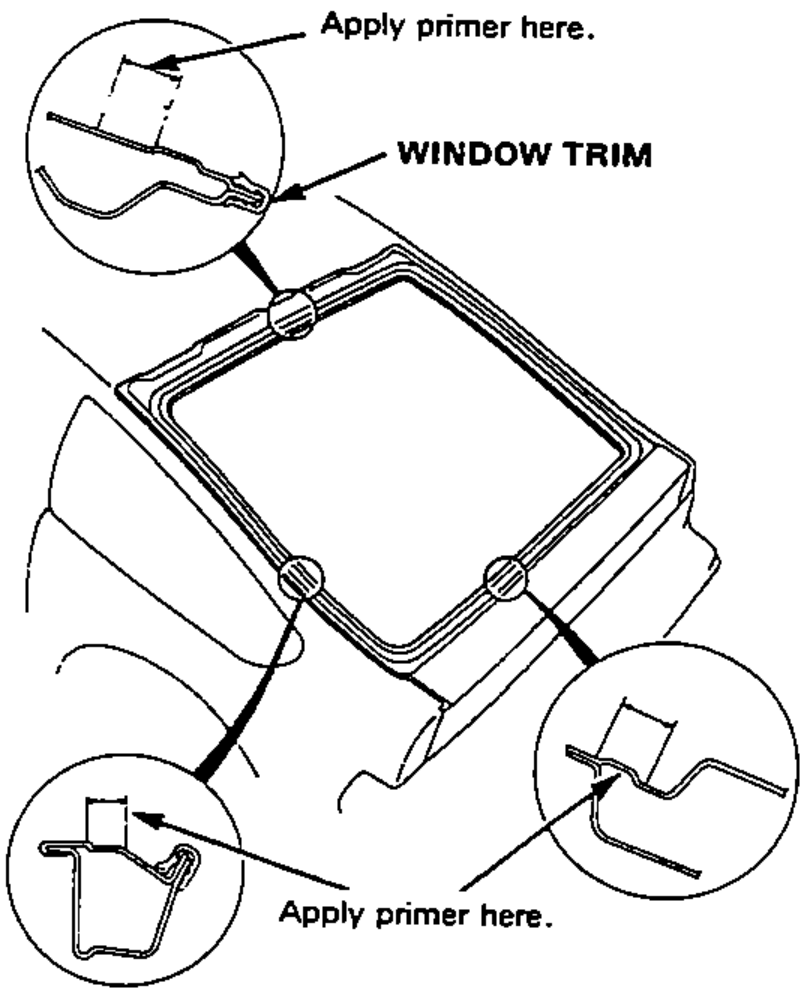
- 8With a sponge, apply a light coat of glass primer around the edge of the glass as shown, then lightly wipe it off with gauze or cheesecloth.Do not apply body primer to the glass, and do not get body and glass primer sponges mixed up.Never touch the primed surfaces with your hands. If you do, the adhesive may not bond to the glass properly, causing a leak after the glass is installed.Keep water, dust, and abrasive materials away from the primed surface.
- 9With a sponge, apply a light coat of body primer to the original adhesive remaining around the window opening flange.Do not apply glass primer to the body, and be careful not to mix up glass and body primer sponges.Never touch the primed surfaces with your hands.
- 10Thoroughly mix all the adhesive and hardener together on a glass or metal plate with a putty knife.Clean the plate with a sponge and alcohol before mixing.Follow the instructions that come with the adhesive.
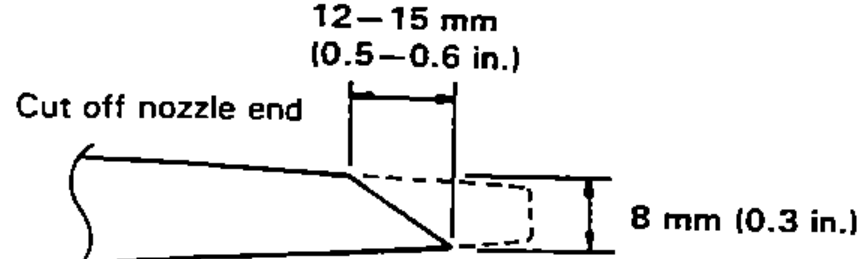
- 11Before filling a cartridge, cut off the end of the nozzle at the angle shown.