Preparation of Work
1-10prose procedureSteps 5-9 above correspond to the manual's numbered items 4-8; an extra step (4, parts rack) was split out from item 3's accompanying note for figure linkage.
CAUTION
Observe all safety precautions and notes while working.
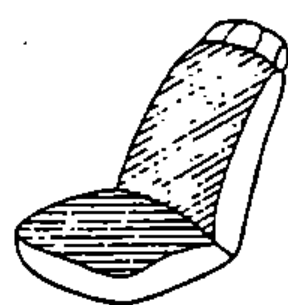
- 1Protect all painted surfaces and seats against dirt and scratches with a clean cloth or vinyl cover.
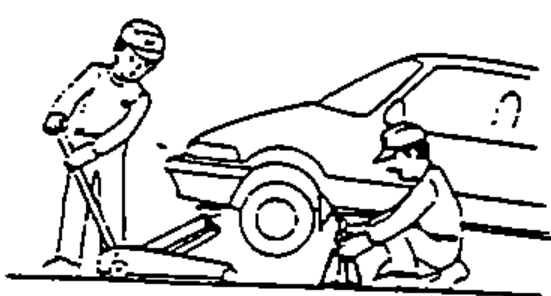
- 2Work safely and give your work your undivided attention. When either the front or rear wheels are to be raised, block the remaining wheels securely. Communicate signals as frequently as possible when work involves two or more workers. Do not run the engine unless the shop or working area is well ventilated.
- 3Prior to removing or disassembling parts, they must be inspected carefully to isolate the cause for which service is necessary. Observe all safety notes and precautions and follow the proper procedures as described in this manual.

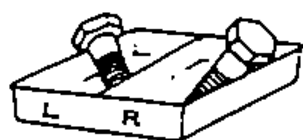
- 4Mark or place all removed parts in order in a parts rack so they can be reassembled in their original places.
- 5Use special tools when use of such is specified.
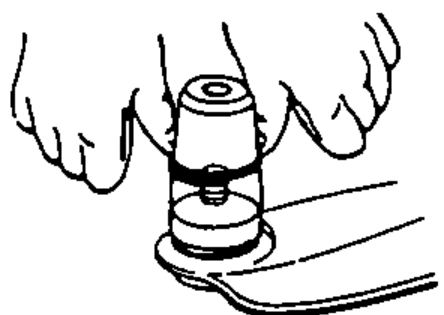
- 6Parts must be assembled with the proper torque according to the maintenance standards established.
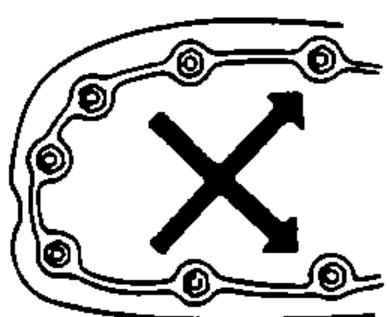
- 7When tightening a series bolts or nuts, begin with the center or larger diameter bolts and tighten them in crisscross pattern in two or more steps.
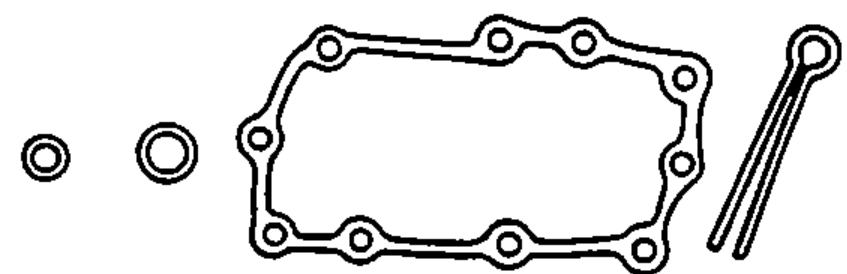
- 8Use new packings, gaskets, O-rings and cotter pins whenever reassembling.
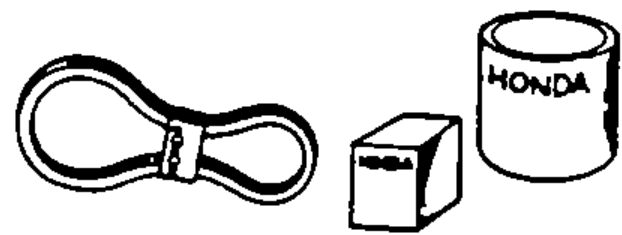
- 9Use genuine HONDA parts and lubricants or those equivalent. When parts are to be reused, they must be inspected carefully to make sure they are not damaged or deteriorated and are in good usable condition.