Preparation of Work - Electrical (cont'd)
1-14prose procedureSteps numbered 41-51 here to continue the Electrical-section sequence from earlier pages and keep unique step IDs; on the page they are unnumbered bullets. A small secondary 'dropped part' sketch (Surya region r20) is folded into fig8.
Electrical (cont'd)
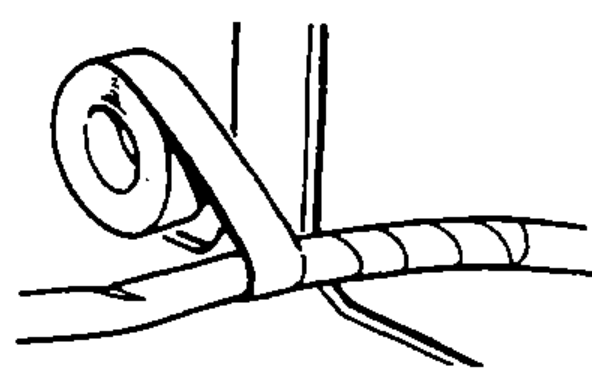
- 41Protect wires and harnesses with tape or a tube if they are in contact with a sharp edge or corner.
- 42Clean the attaching surface thoroughly if an adhesive is used. First, wipe with solvent or alcohol in necessary.
- 43Seat grommets in their grooves properly.

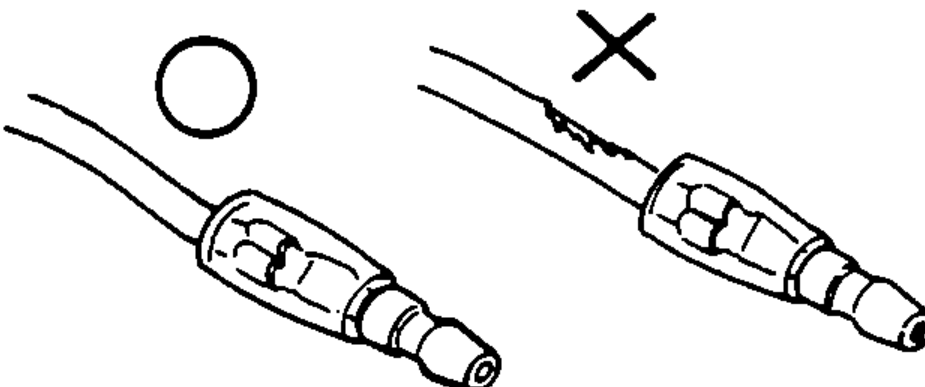
- 44Do not damage the insulation when connecting a wire.
- 45Do not use wires or harnesses with a broken insulation. Repair by wrapping with a protective tape or replace with new ones if necessary.
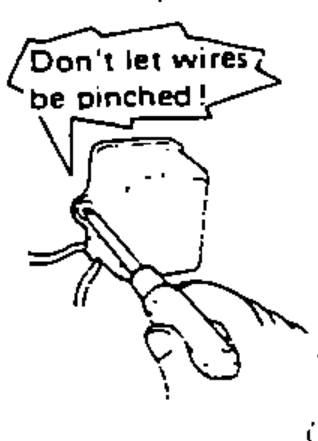
- 46After installing parts, make sure that wire harnesses are not pinched.
- 47After routing, check that the wire harnesses are not twisted or kinked.
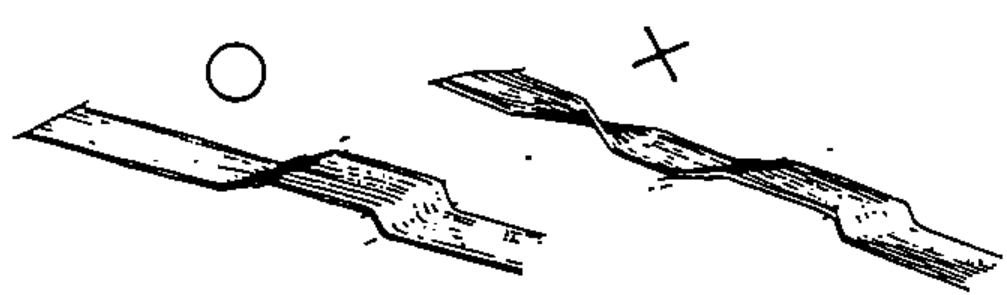
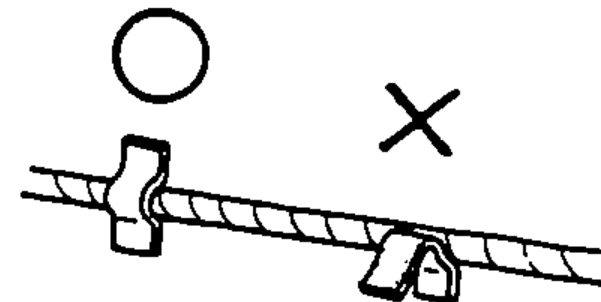
- 48Wire harnesses should be routed so that they are not pulled taut, slackened excessively, pinched, or interfering with adjacent or surrounding parts in all steering positions.
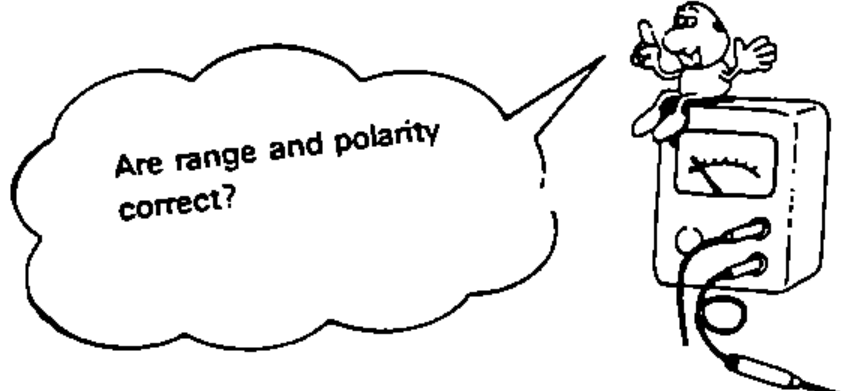
- 49When using the Service Tester, follow the manufacturer's instructions and those described in the Shop Manual.
- 50Do not drop parts.

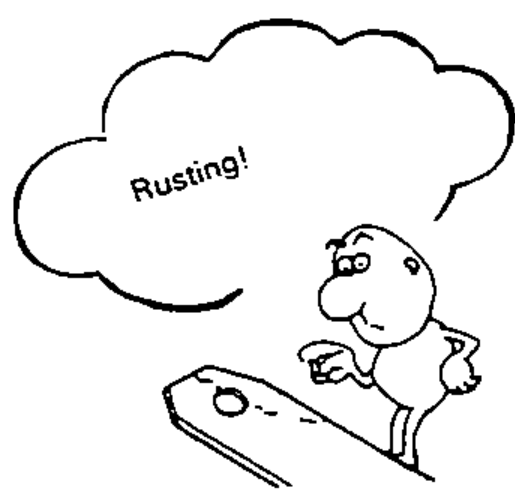
- 51Rust is the enemy of all finished surfaces. Before connecting connectors and couplers, check the terminals and remove, if any, rust using a fine sand paper or emery cloth.