Preparation of Work - Electrical (cont'd)
1-12prose procedureSteps numbered 20-29 here to continue the Electrical-section sequence from page 1-11 and keep unique step IDs; on the page they are unnumbered bullets.
Electrical (cont'd)
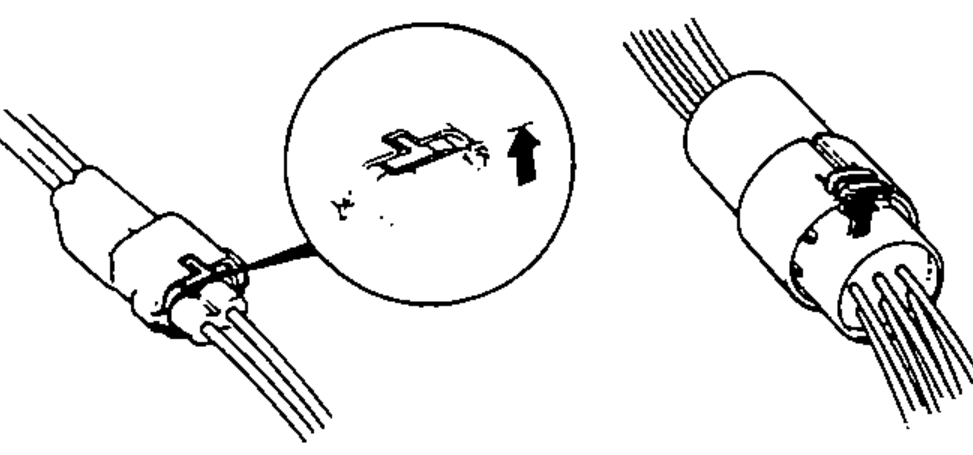
- 20When removing locking couplers, be sure to disengage the lock before disconnecting. Couplers may be of two types, those in which the lock is pressed to remove, and those in which the lock is pulled up to remove. Be sure to ascertain the type of locking device before beginning work. The following is a depiction of the means of disconnecting various typical couplers.
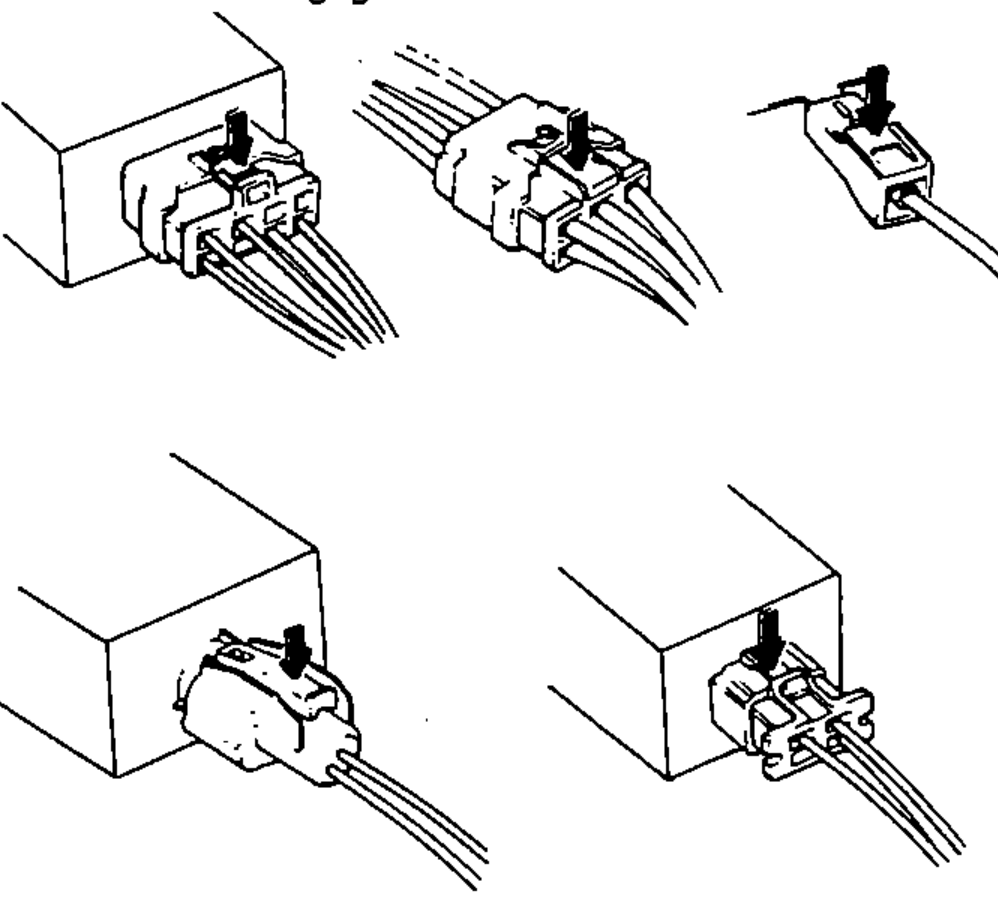
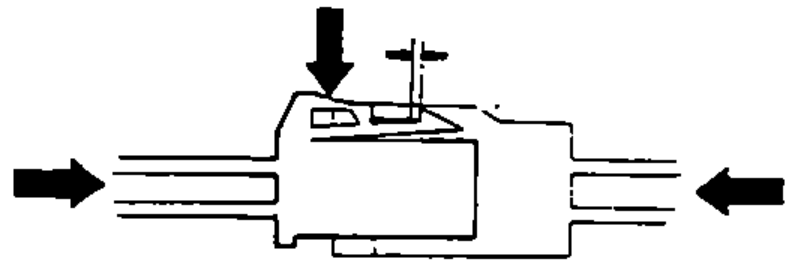
- 21When disconnecting locks, first press in the coupler tightly (to provide clearance to the locking device), then operate the tab fully and remove the coupler in the designated manner.
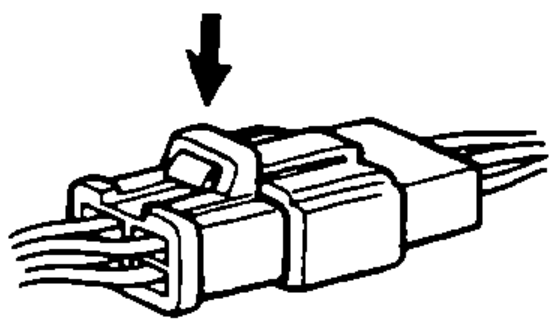
- 22All plastic plugs have locking tabs that must be released before disconnecting, and must be aligned when reconnecting.
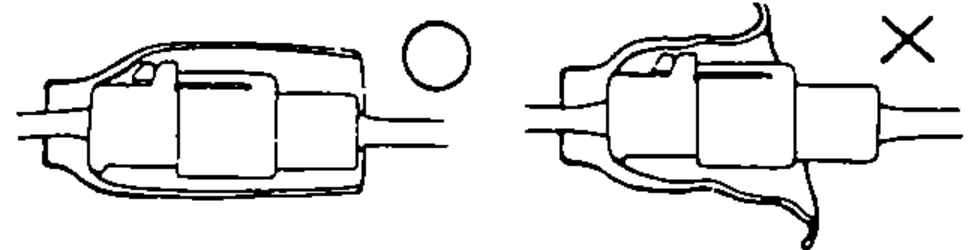
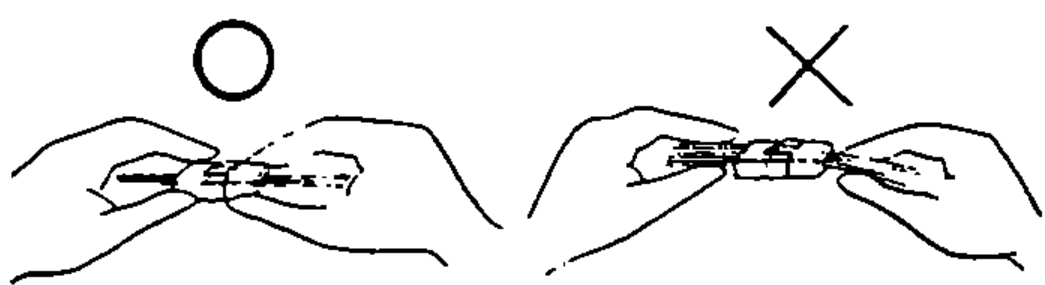
- 23When disconnecting a coupler, pull it off from the mating coupler by holding on both couplers.
- 24Never try to disconnect couplers by pulling on their wires.
- 25Before connecting couplers, check to see that the terminals are in place and are not bent or distorted.
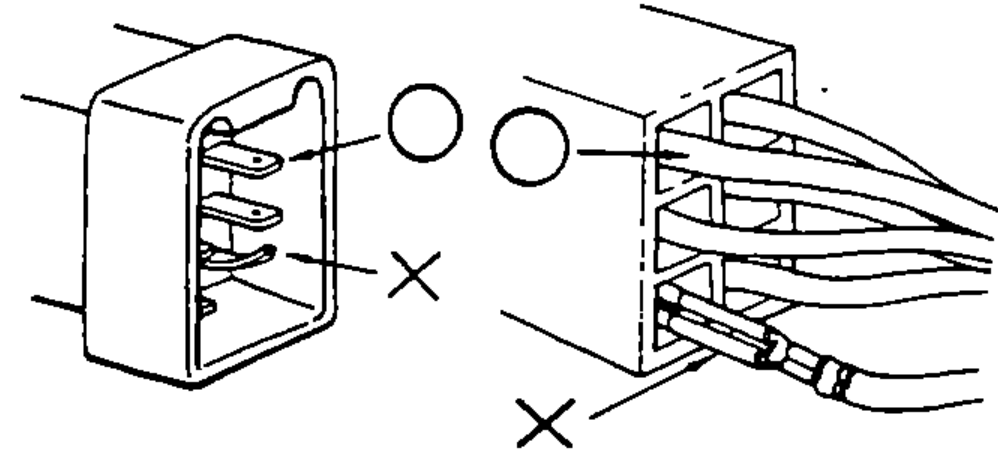
- 26Insert couplers fully until they will no longer go.
- 27Some couplers have locking tabs that must be aligned and engaged securely.
- 28Don't use wire harnesses with a loose wire or coupler.
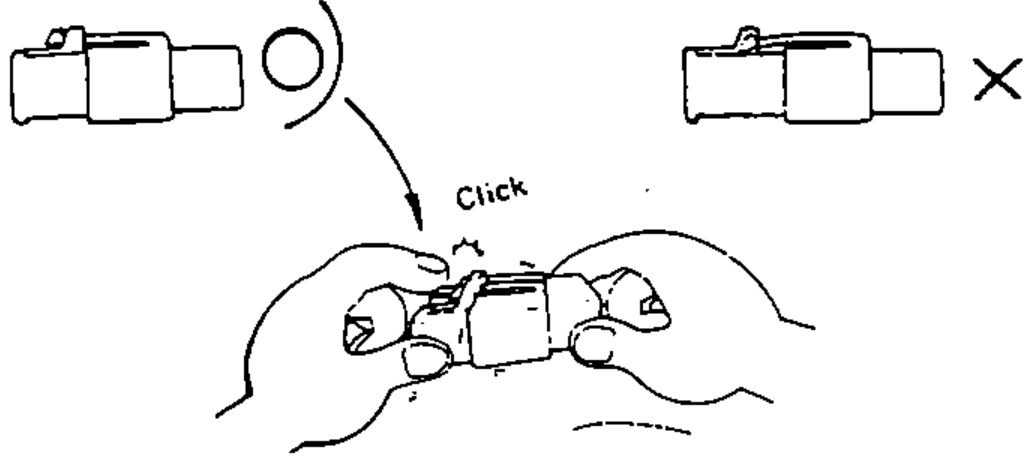
- 29Place the plastic cover over the mating coupler after reconnecting. Also check that the cover is not distorted.