
Brake Caliper - Disassembly (cont'd) / Reassembly
13-8prose procedureDisassembly (cont'd)
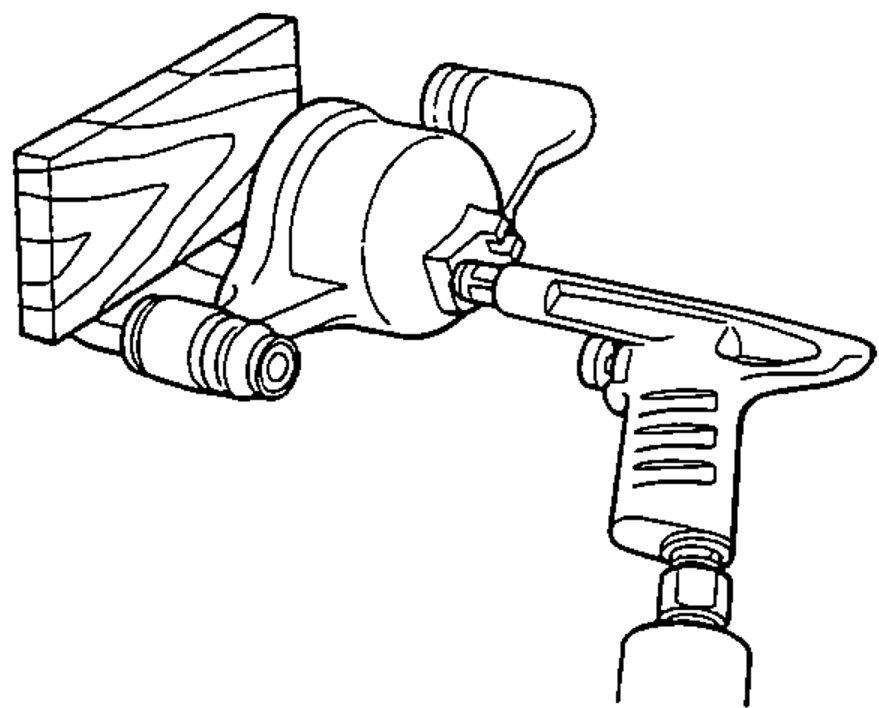
- 3Place a wooden block or shop rag in the caliper opposite the piston, then carefully remove the piston from the caliper by applying air pressure through the brake line hole.Do not place your fingers in front of the piston.Do not use high air pressure; use the approved 30 PSI nozzle.
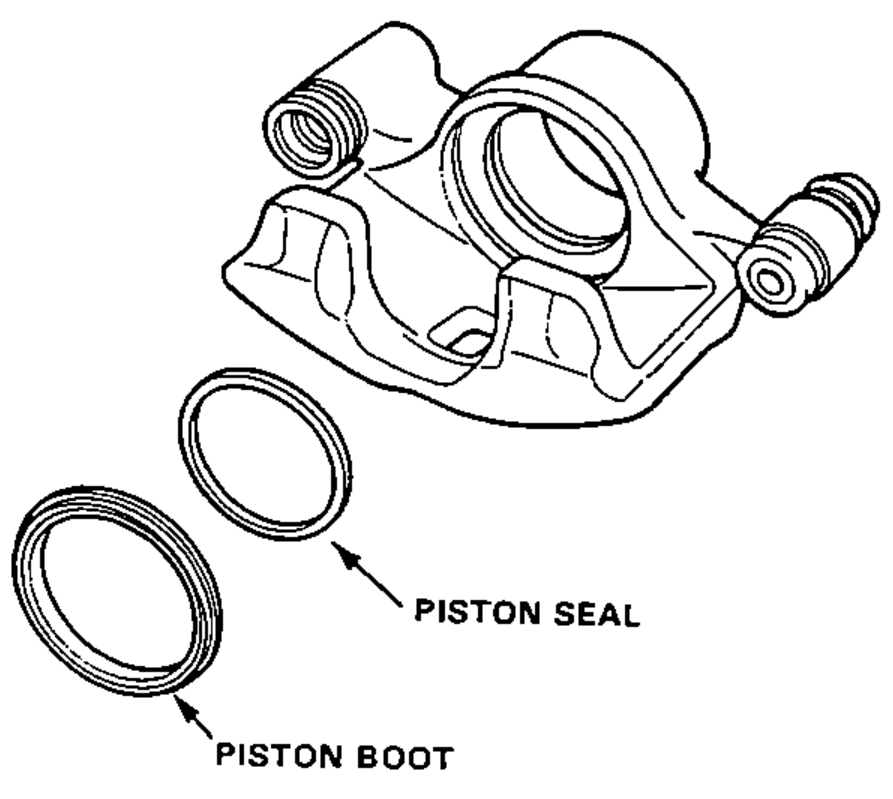
- 4Remove the piston boot and piston seal.CAUTION: Take care not to damage the cylinder.
Reassembly
CAUTION
• Make sure all parts are clean before reassembly.
• Use only new replacement parts.
• Use only clean brake fluid.
• Do not allow dirt or other foreign matter to contaminate the brake fluid.
• Do not mix different brands of brake fluid.
• Avoid spilling brake fluid on painted, plastic or rubber surfaces as it can damage the finish.
• Wash spilled brake fluid off immediately with clean water.
- 1Clean the piston and caliper bore with brake fluid and inspect for wear or damage.
- 2Apply brake cylinder grease to a new piston seal, then install the piston seal in the cylinder groove.
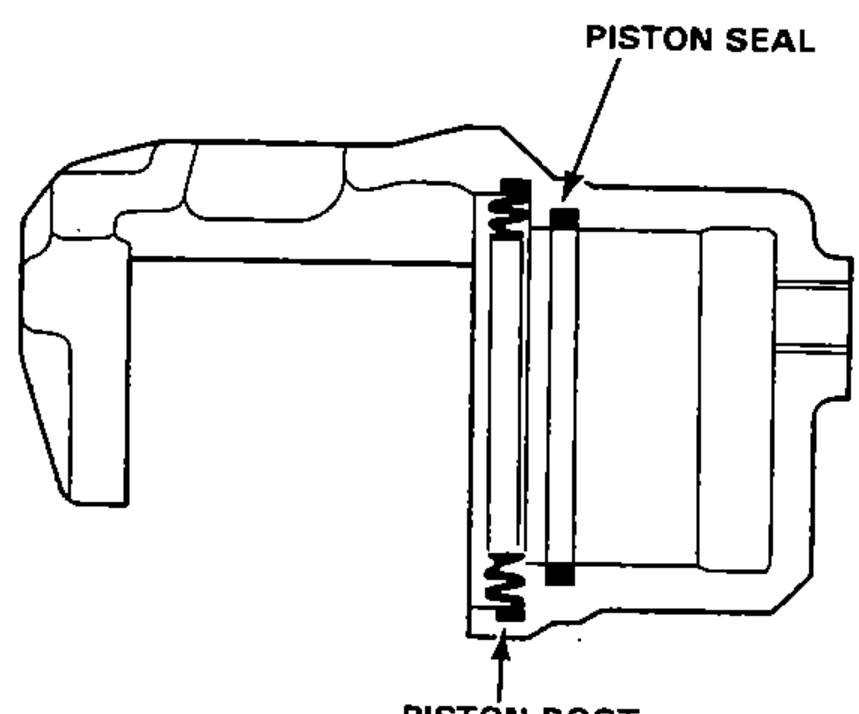
- 3Install the piston boot.
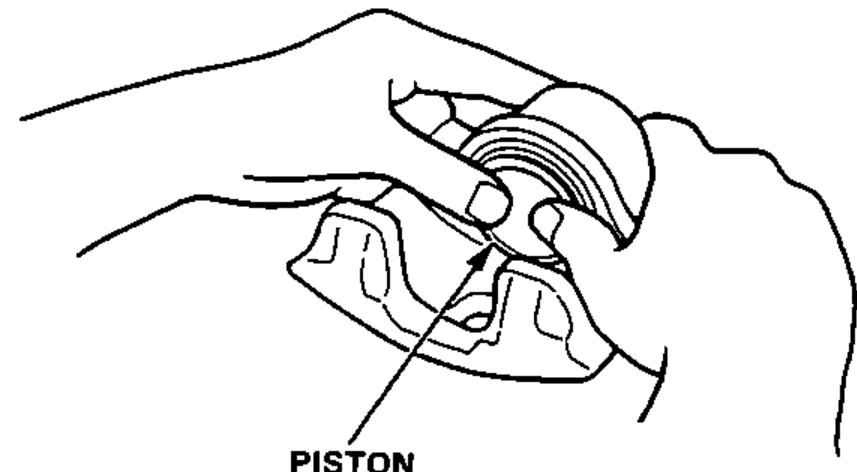
- 4Lubricate the caliper cylinder and piston with brake fluid, then install the piston in the cylinder with the dished end facing in.
- 5Reinstall the caliper in the reverse order of removal.
- 6Fill the brake reservoir up and bleed the brake system (page 13-10).