
Flywheel and Clutch — Installation
7-9prose procedureFlywheel Bearing — Inspection/Replacement (cont'd)
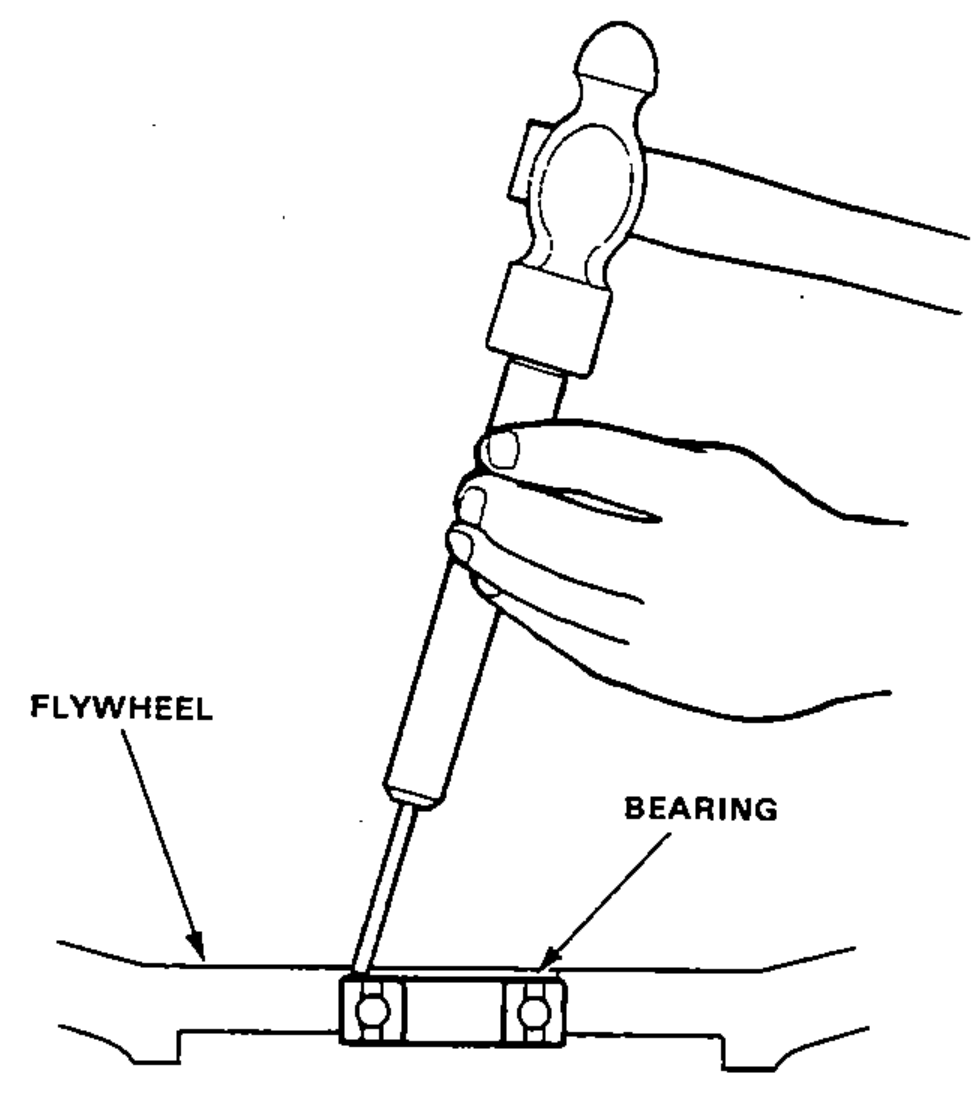
- 2Remove the bearing from the flywheel.
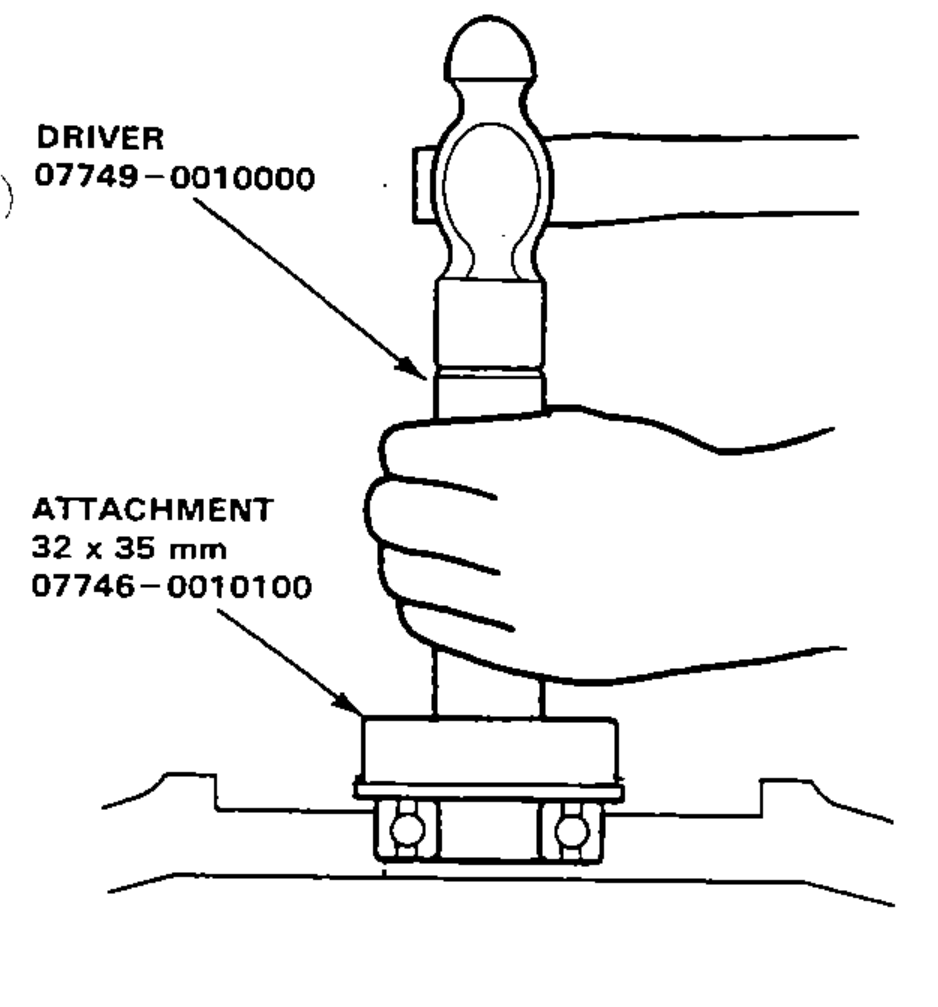
- 3Drive in the new bearing in the flywheel.
Flywheel and Clutch
Installation
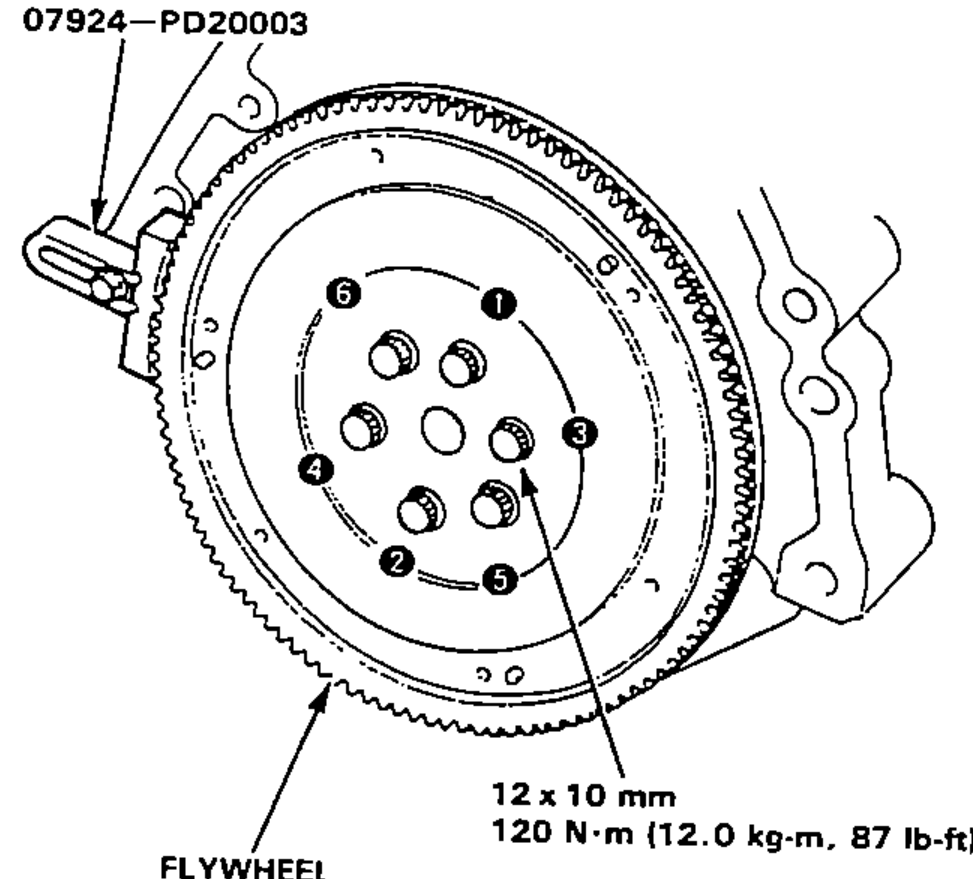
- 1Align the hole in flywheel with the crankshaft dowel pin and assemble. Install the bolts only finger tight.
- 2Install the Ring Gear Holder, then torque the flywheel bolts in a crisscross pattern, as shown.12 x 10 mm bolt torque: 120 N·m (12.0 kg-m, 87 lb-ft)
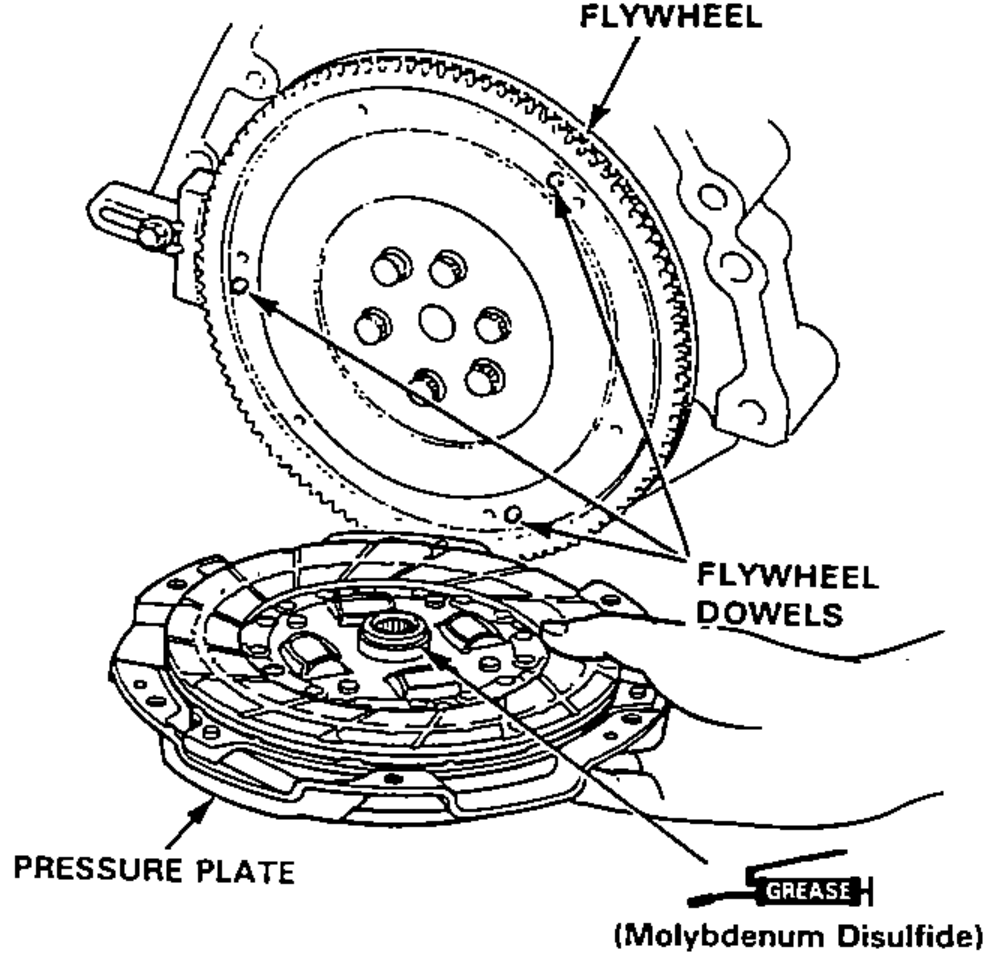
- 3Install the clutch disc and pressure plate by aligning the flywheel dowels with dowel holes in the pressure plate.Apply grease (Molybdenum Disulfide) to the clutch disc splines.
- 4Install the attaching bolts finger tight.
| Specification | Value |
|---|---|
| Flywheel bolt (12 x 10 mm) | 120N·m |
Flywheel bolt (12 x 10 mm)
120N·m
(cont'd)