Emission Control System — Tailpipe Emission / Positive Crankcase Ventilation System
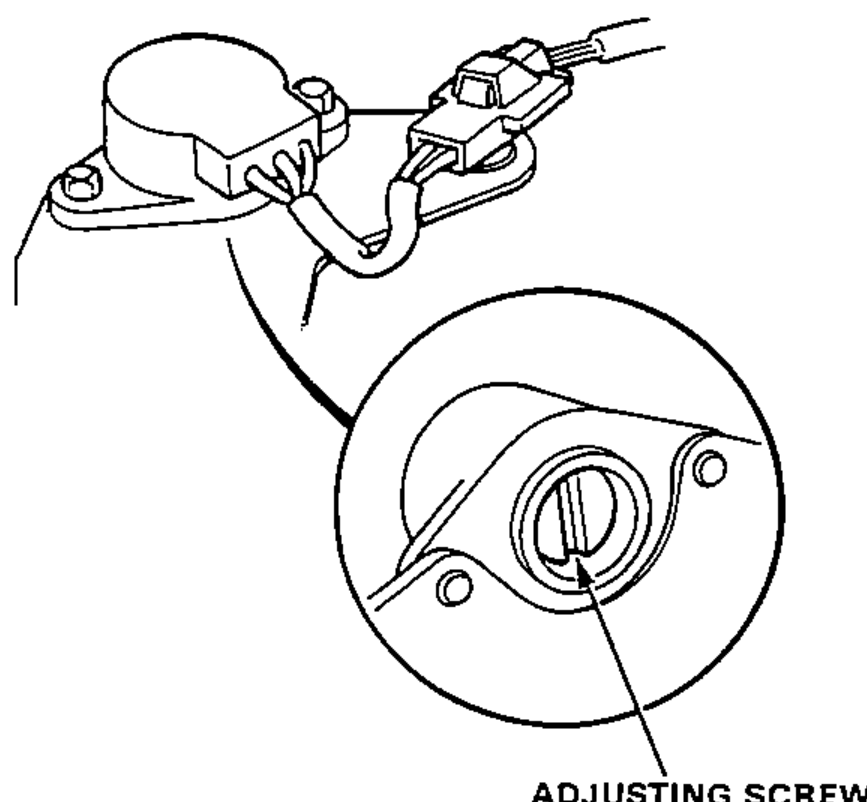
6-90prose procedureCO spec and adjustment differ for With CATA (0.1% max, ECU troubleshooting) vs Without CATA (1.0 ± 1.0%, adjust IMA sensor screw).
Tailpipe Emission
Inspection
WARNING
Do not smoke during this procedure. Keep any open flame away from your work area.
- 1Start the engine and warm up to normal operating temperature (cooling fan comes on).
- 2Connect tachometer.
- 3Check idle speed and adjust the idle speed, if necessary (page 6-69).
- 4Warm up and calibrate the CO meter according to the meter manufacturer's instructions.
- 5Check idle CO with the headlights, heater blower, rear window defogger, cooling fan, and air conditioner off.
| Specification | Value |
|---|---|
| Specified CO% — With CATA | 0.1% maximum |
| Specified CO% — Without CATA | 1.0 ± 1.0% |
Specified CO% — With CATA
0.1% maximum
Specified CO% — Without CATA
1.0 ± 1.0%
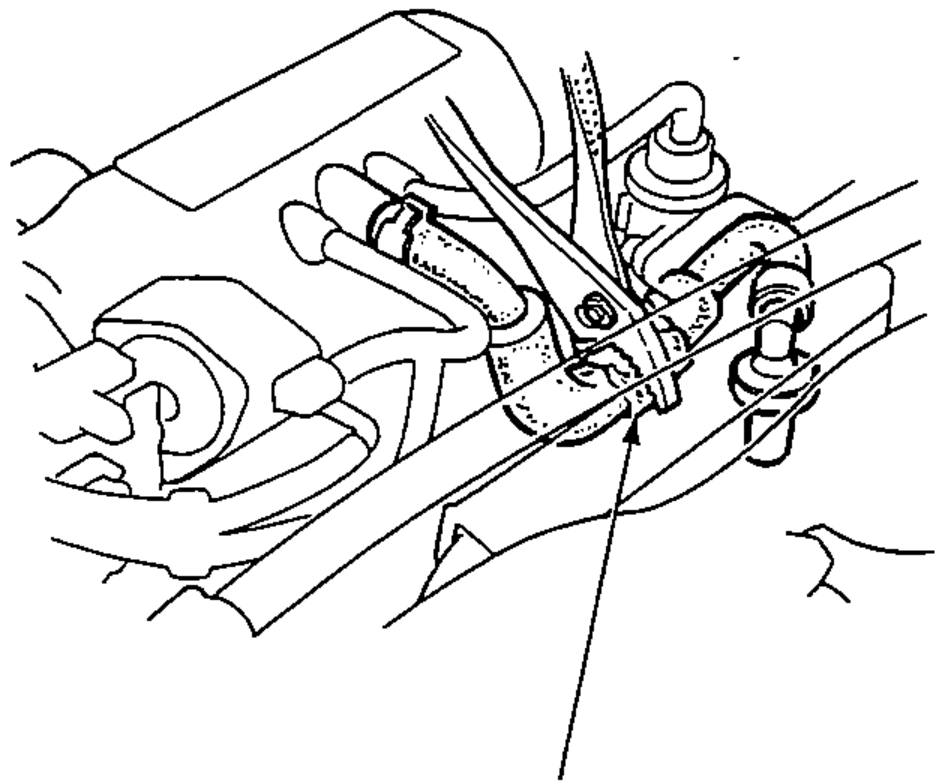
Positive Crankcase Ventilation System
Inspection
- 1Check the crankcase ventilation hoses and connections for leaks and clogging.
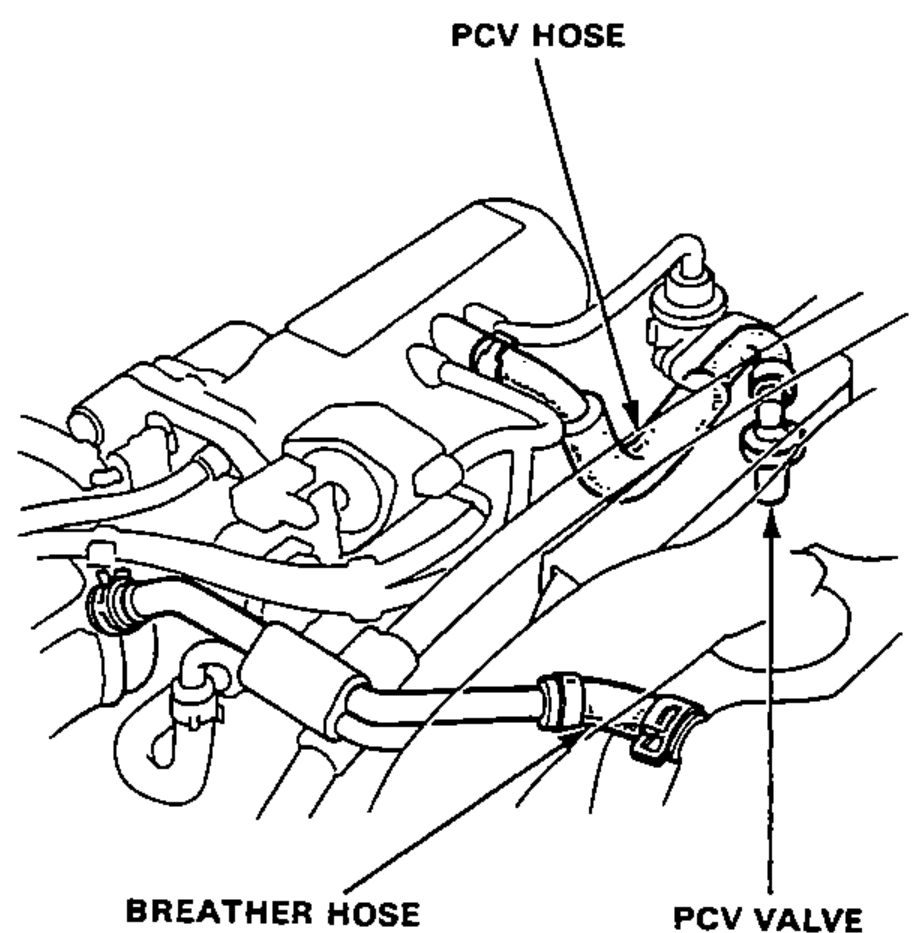
- 2At idling, make sure there is a clicking sound from the PCV valve when the hose between PCV valve and intake manifold in lightly pinched with your fingers or pliers.