
Bleeding
13-10prose procedureCAUTION
Make sure all parts are clean before reassembly. Use only clean brake fluid. Do not allow dirt or other foreign matter to contaminate the brake fluid. Do not mix different brands of brake fluid. Avoid spilling brake fluid on painted, plastic or rubber surfaces as it can damage the finish; Wash spilled brake fluid off immediately with clean water.
NOTE
The reservoir on the master cylinder must be full at the start of bleeding procedure, and checked after bleeding each wheel cylinder. Add fluid as required. Use only DOT 3 brake fluid.
Bleeding Sequence
- 1Have someone slowly pump the brake pedal several times, then apply steady pressure.
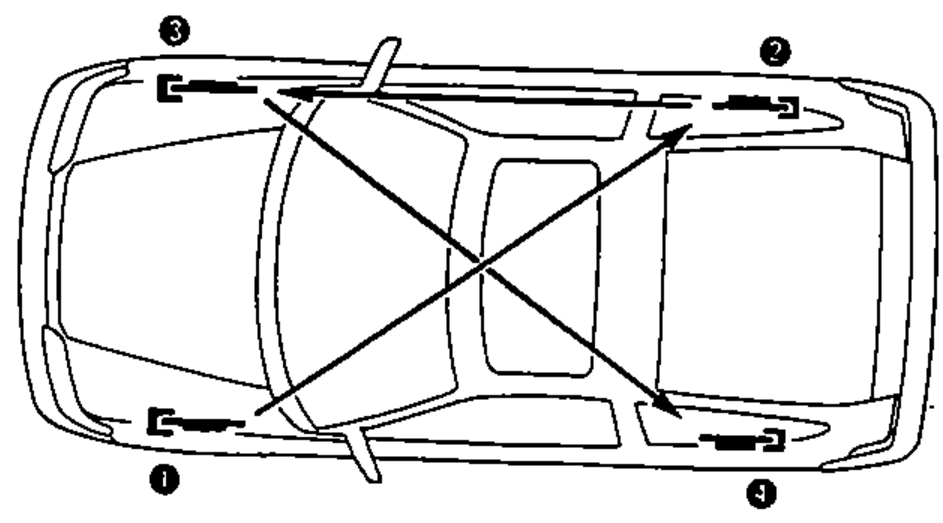
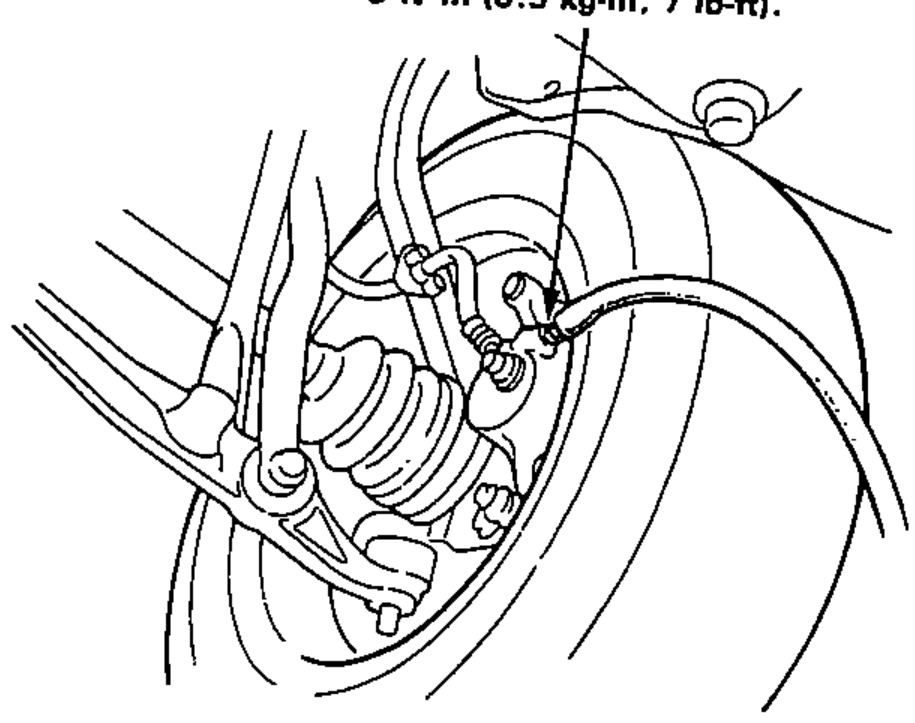
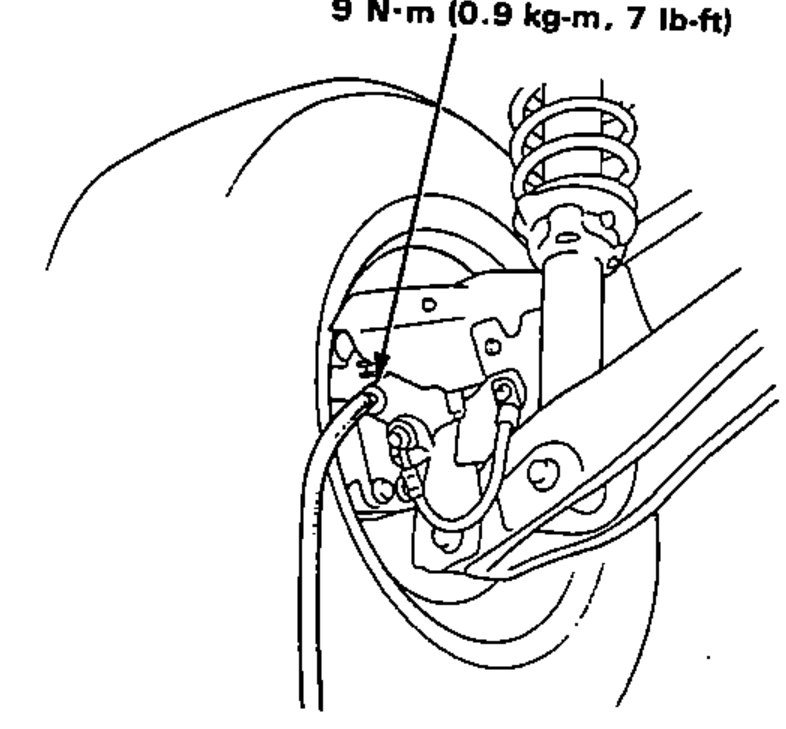
- 2Loosen the brake bleed screw to allow air to escape from the system. Then tighten the bleed screw securely.
- 3Repeat the procedure for each wheel in the sequence shown above, until air bubbles no longer appear in the fluid.
- 4Check brake performance by road testing.