
Brake Pad - Inspection/Replacement
13-6prose procedureInspection/Replacement
WARNING
Do not use an air hose to blow the brake assembly clean. Use the vacuum cleaner, to avoid breathing brake dust.
- 1Remove the front wheels and support the front of car on safety stands.
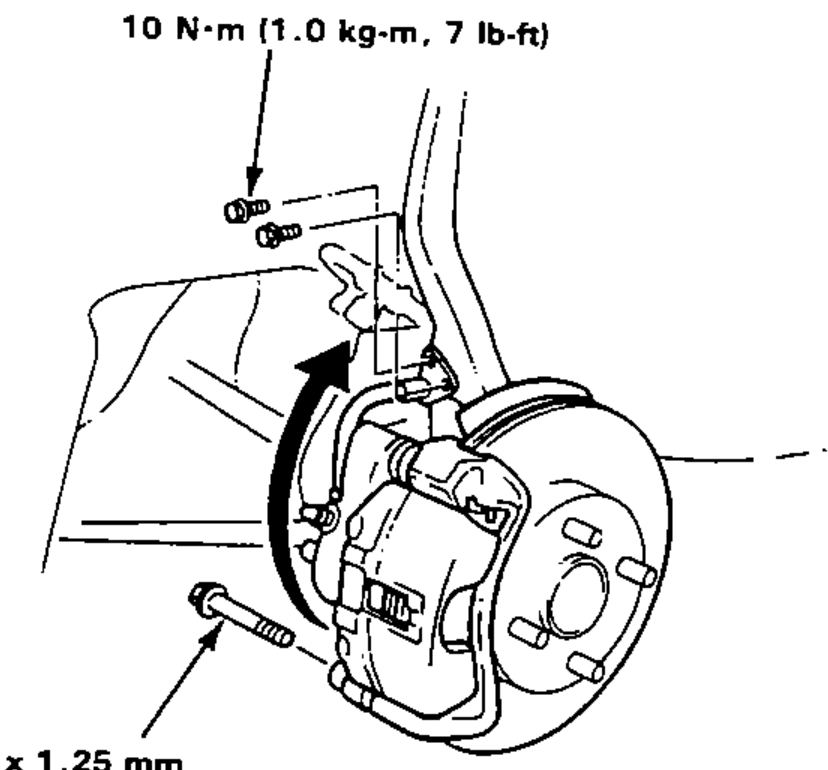
- 2Remove the brake hose clamp bolts from the knuckle.
- 3Remove caliper bolt and pivot caliper up out of the way.
- 4Remove the pad shims, pad retainers and pads.
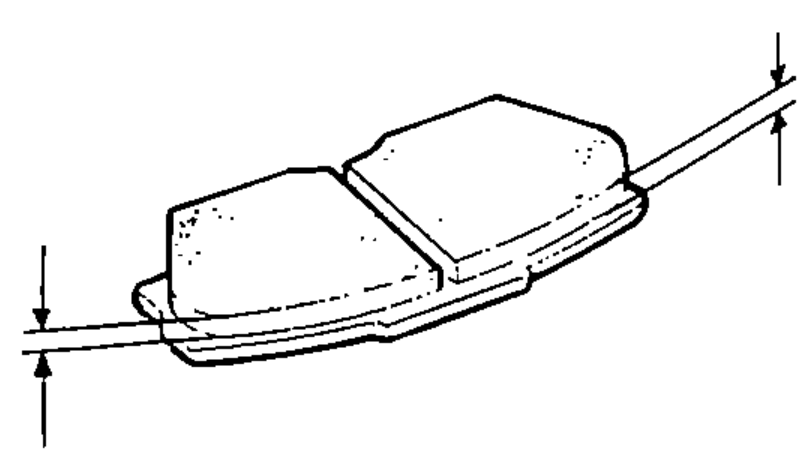
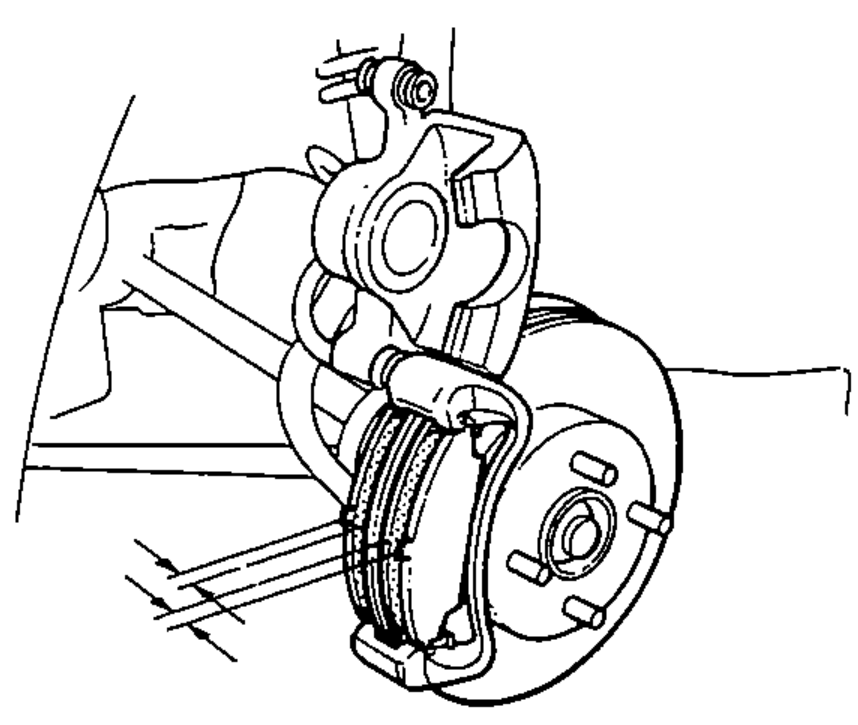
- 5Using a vernier caliper, measure the thickness of each brake pad lining.Measurement does not include pad backing thickness.
- 6If lining thickness is less than service limit, replace both pads as a set.Engagement of the brake may require a greater pedal stroke immediately after the brake pads have been replaced as a set. Several applications of the brake pedal will restore the normal pedal stroke.
- 7Clean the caliper thoroughly; remove any rust, and check for grooves or cracks.
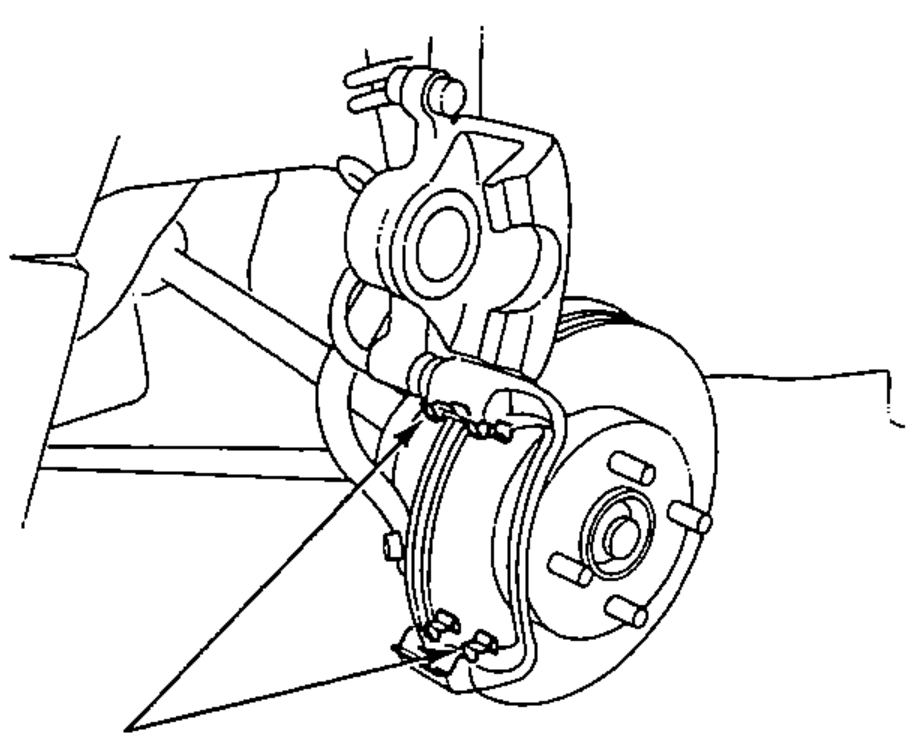
- 8Install the pad retainers.
| Specification | Value |
|---|---|
| Brake Pad Thickness - Standard | 9.0 mm (0.35 in) |
| Brake Pad Thickness - Service Limit | 3.0 mm (0.12 in) |
Brake Pad Thickness - Standard
9.0 mm (0.35 in)
Brake Pad Thickness - Service Limit
3.0 mm (0.12 in)