
Rear Caliper - Reassembly (cont'd)
13-35prose procedureReassembly (cont'd)
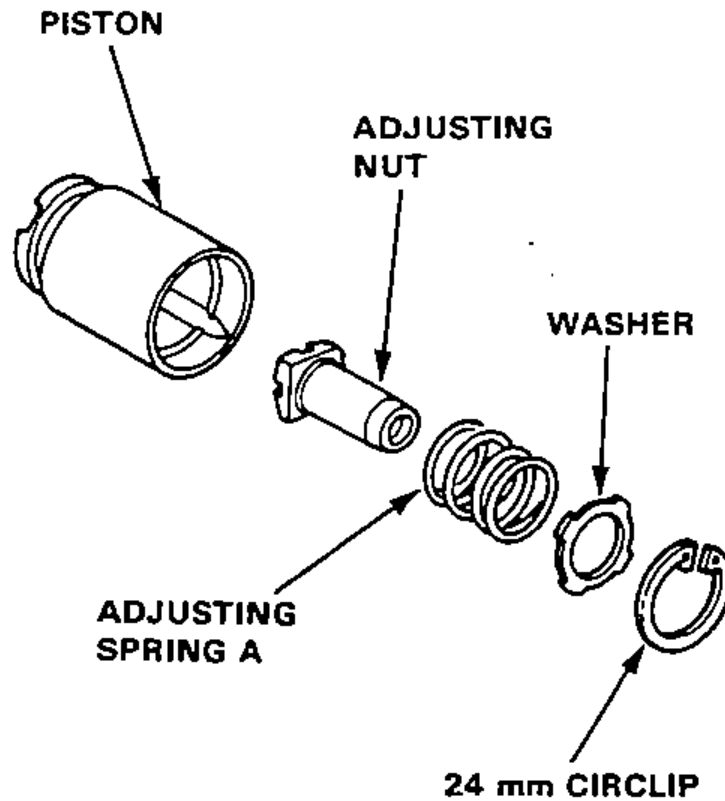
- 16Install the adjusting nut, adjusting spring A, and washer, and secure with the circlip.
- 17Coat the new piston seal and piston boot with silicone grease and install them in the caliper.
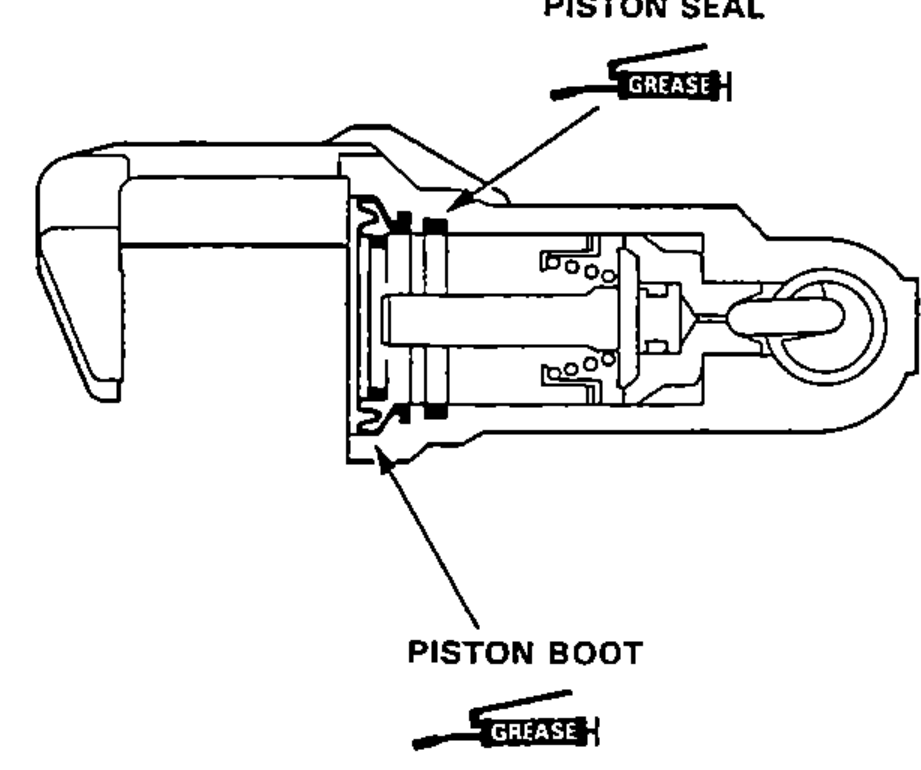
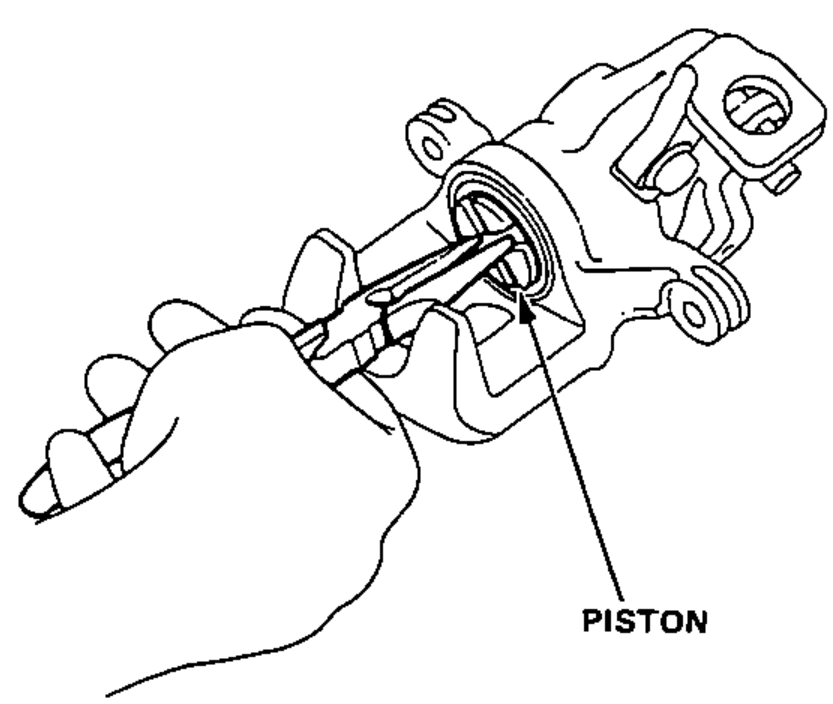
- 18Coat the outside of the piston with silicone grease, and install it on the adjusting bolt while rotating it clockwise.CAUTION: Avoid damaging the piston boot.
- 19Install the brake pad retainers and brake pads.
- 20Install the pad springs on the caliper.
- 21Install the caliper on the caliper bracket and tighten the caliper mounting bolts.
- 22Connect the brake hose to the caliper with new sealing washers and tighten the banjo bolt.
- 23Connect the parking brake cable to the arm on the caliper.
- 24Fill the brake reservoir up and bleed the brake system (page 13-10).
- 25Operate the brake pedal several times, then adjust the parking brake lever.Before adjustments, make sure the parking brake arm on the caliper touches the pin.
- 26Install the caliper shield and tighten the bolts.