Timing Belt - Replacement
5-18prose procedureA/C belt removal applies to vehicles with A/C.
Replacement
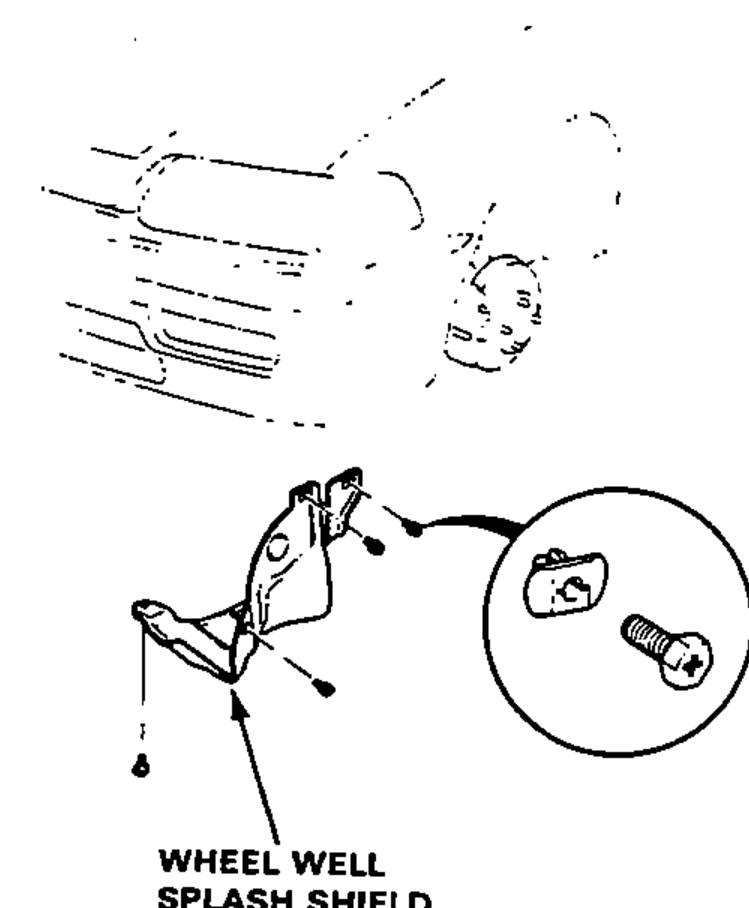
- 1Remove the wheel well splash shield.
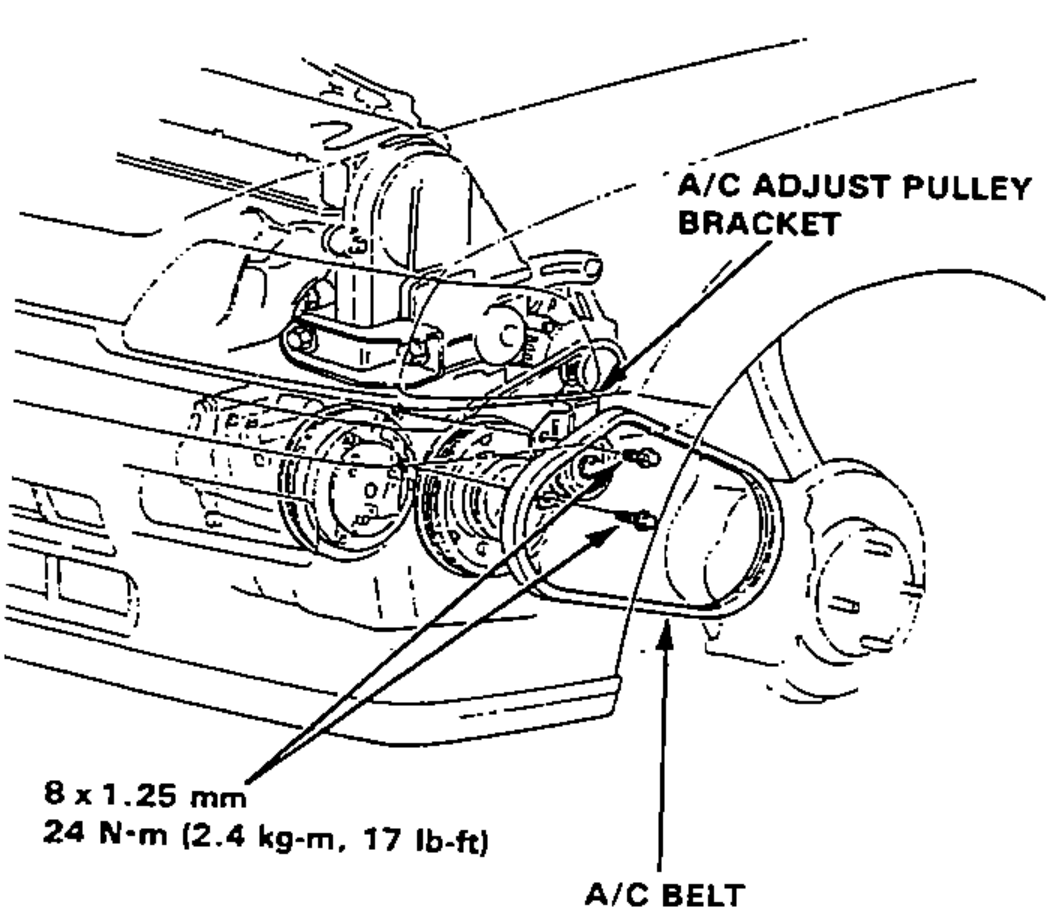
- 2Remove the A/C compressor adjust pulley with bracket and the belt (with A/C).
- 3Remove the side bracket.
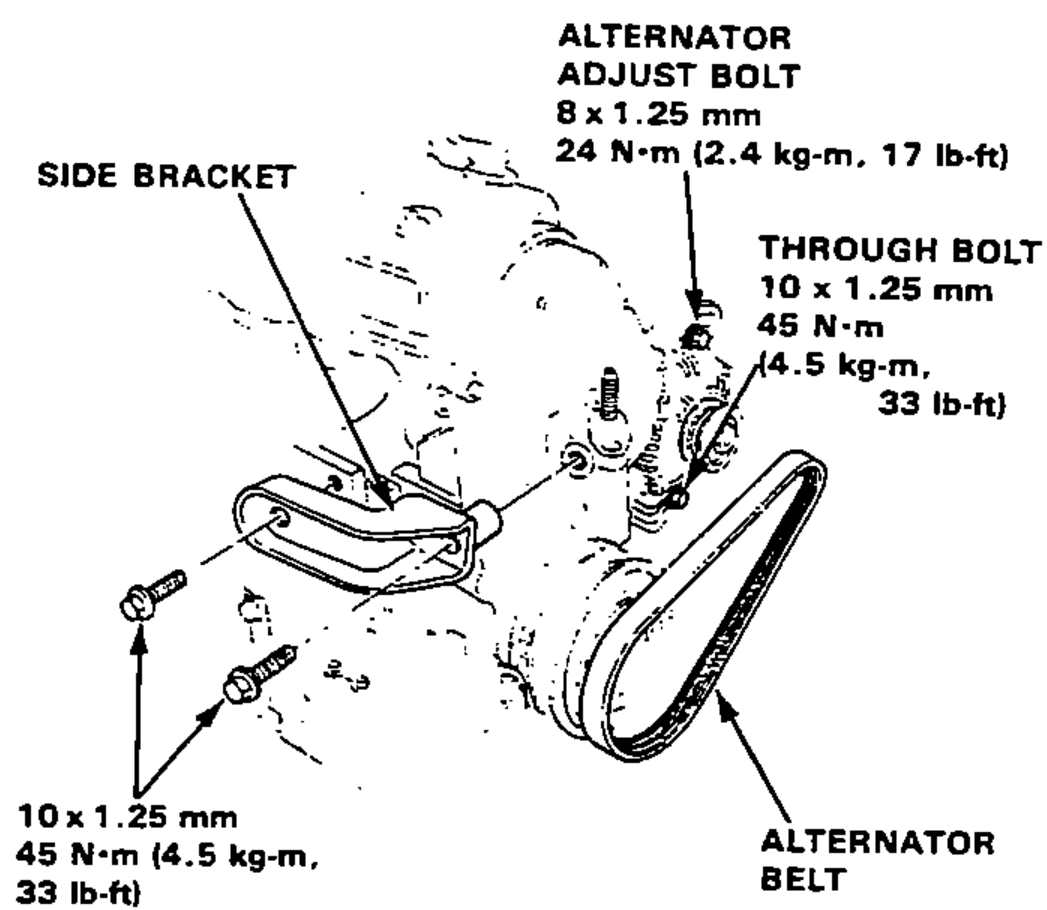
- 4Loosen the alternator adjust bolt and through bolt, then remove the belt.
- 5After installation, adjust the tension of each belt. See page 5-6 for alternator belt tension adjustment. See page 5-7 for A/C compressor belt tension adjustment.
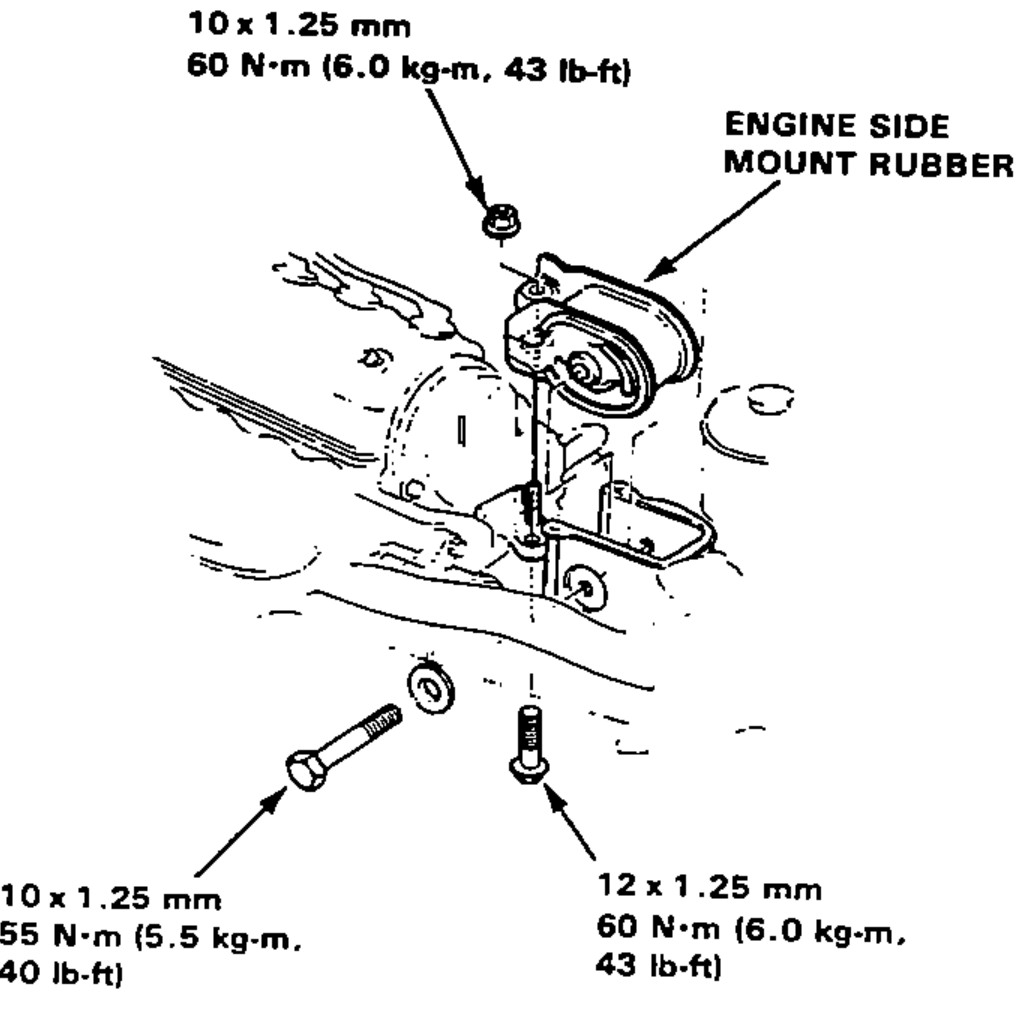
- 6Remove the engine support bolts and nut, then remove the side mount rubber.