
Windshield
14-13prose procedureRemoval
- 1To remove the windshield, first remove the:Do not damage the painted surface.
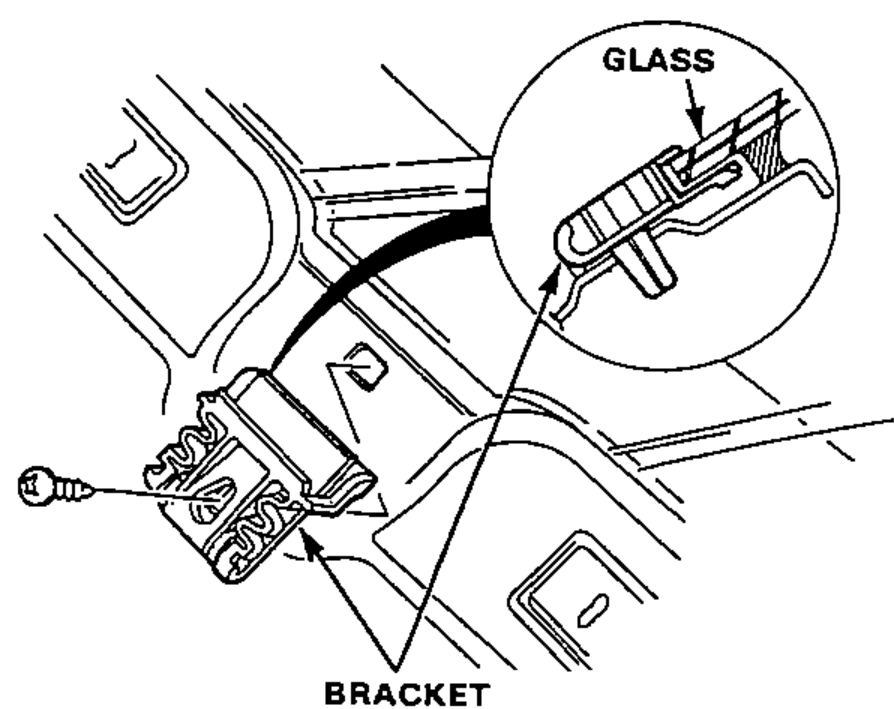
- 2Remove the screws, then remove the right and left glass brackets.
- 3Cut the end of the upper molding as shown.
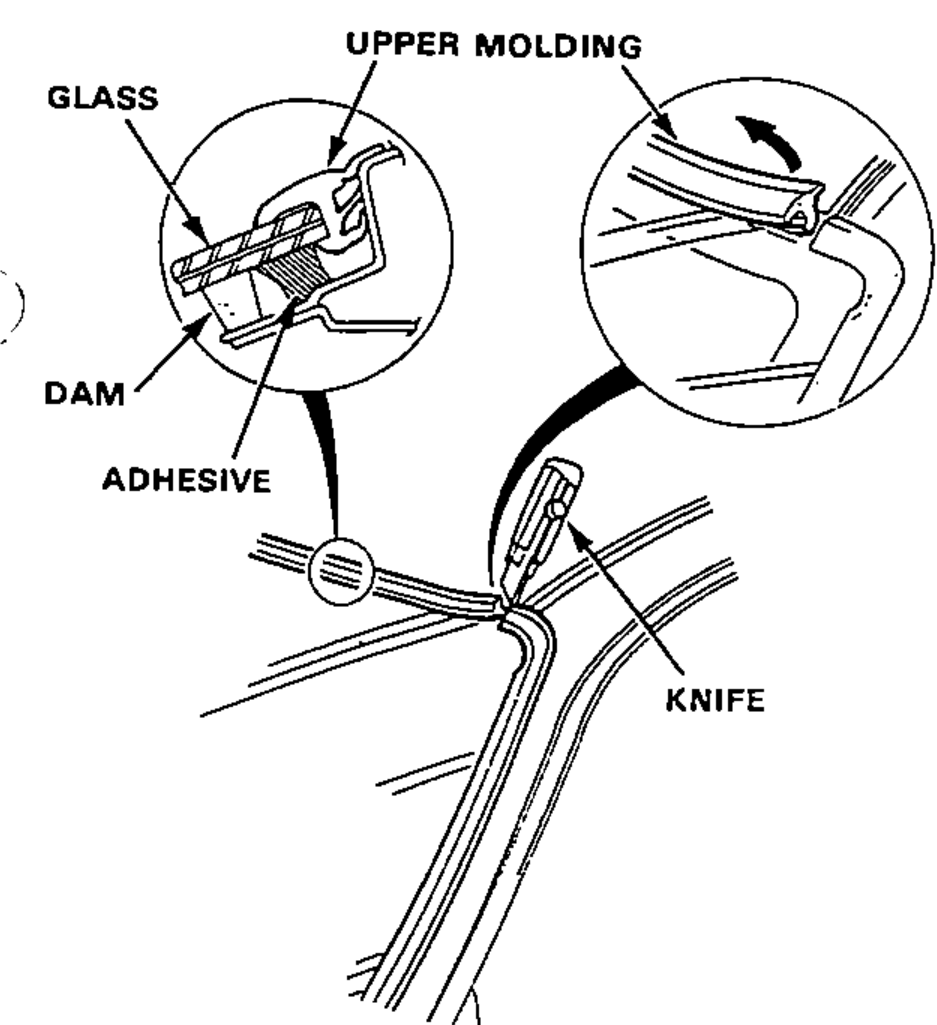
- 4Pull away the upper molding.
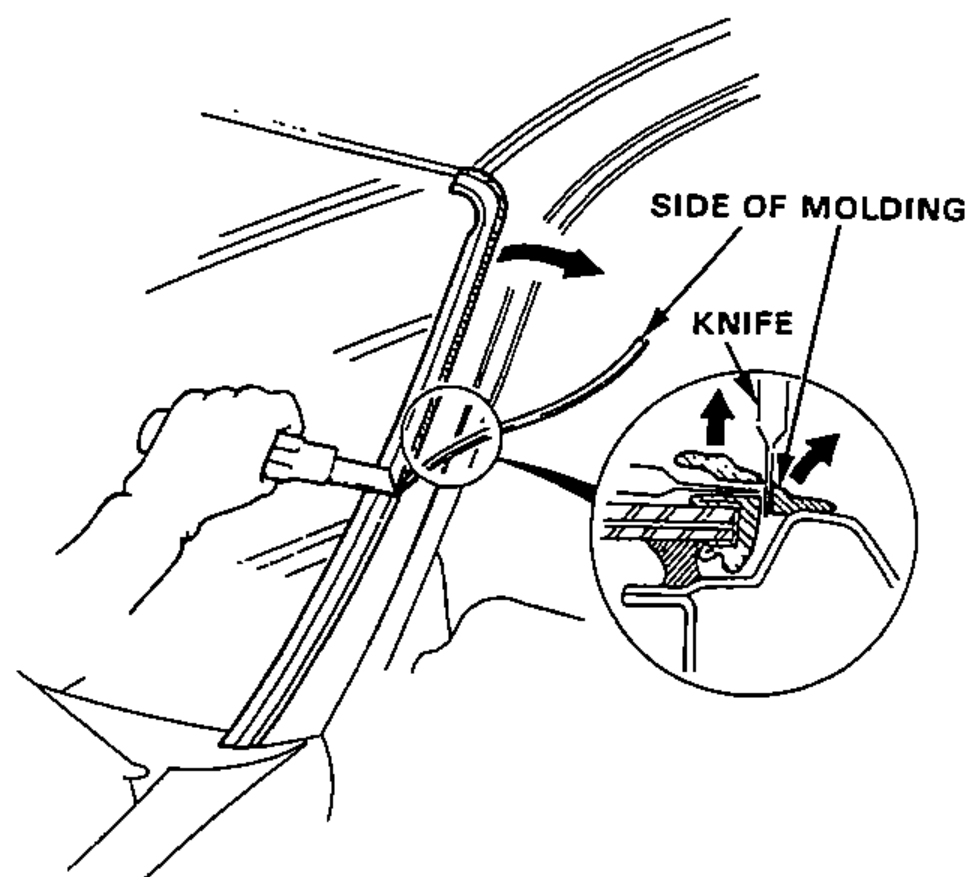
- 5Cut the side rubber portion off the molding as shown (Page 14-17).
- 6Lower the front of the headliner.Take care not to bend the headliner excessively.
- 7Apply protective tape along the edge of the dashboard and body next to the glass as shown.
