
Headlights - Replacement / Taillight Assembly - Replacement
16-103prose procedureReplacement
CAUTION
Halogen headlights can become very hot in use; do not touch them or the attaching hardware immediately after they have been turned off.
Do not try to replace or clean the headlights with the lights on.
- 1Disconnect the 3-P connector from behind the unit.
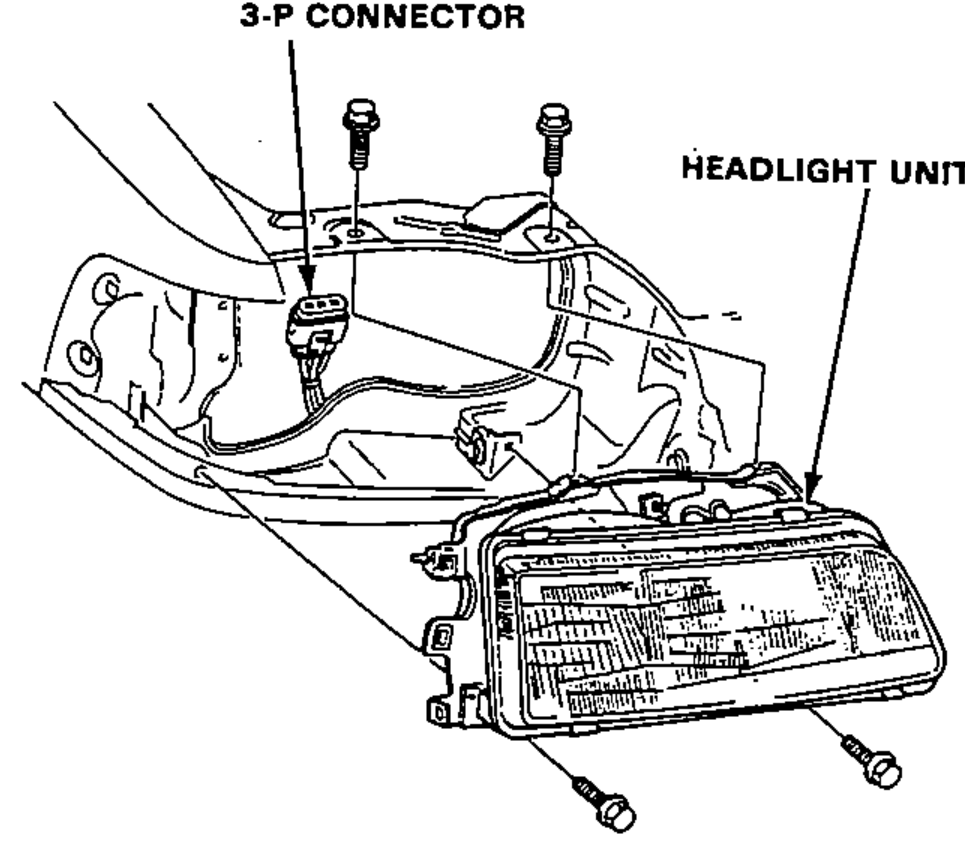
- 2Remove the front bumper and 4 mount bolts, then remove the unit.
- 3After installing the unit, adjust the headlights to local requirements.
Taillight Assembly
Replacement
- 1Open the hatch and the maintenance cover of the taillight.
- 2Disconnect the 6-P connector from behind the taillight.
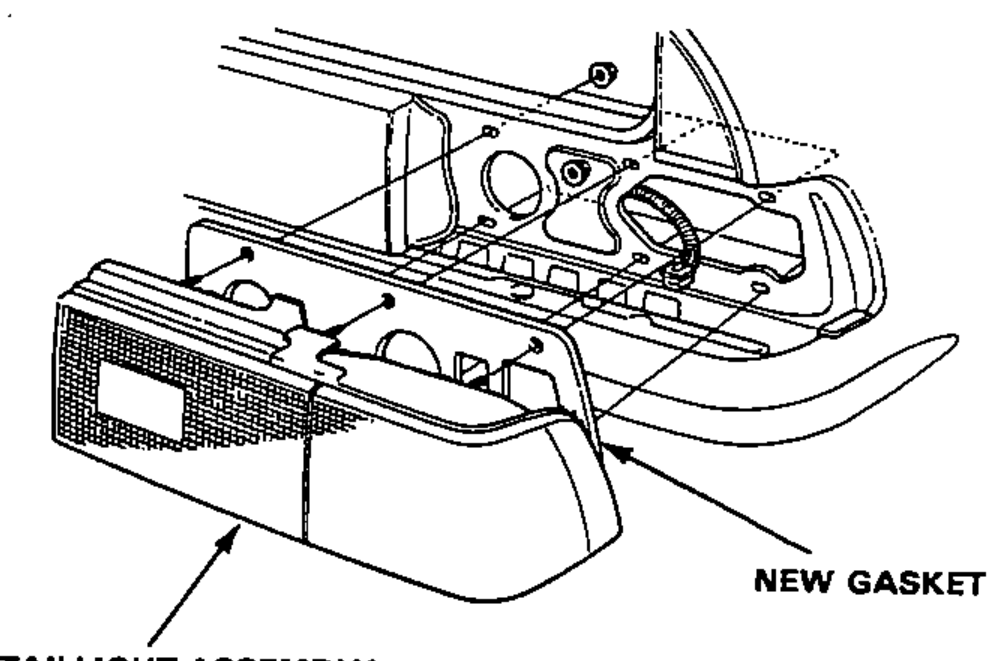
- 3Remove the 6 mount nuts and the taillight assembly.
- 4Inspect the gasket; replace if it is distorted or overly compressed.