
Back-Up/Rear Fog Lights - Test / Replacement
16-107prose procedureTest
- 1Test back-up light switch by placing the select lever in reverse and turning the ignition switch to ON.
- 2If the back-up lights do not go on, check the No.1 (10A) fuse in the dash fuse box and the back-up light bulbs in the taillight assembly.
- 3If the fuse and bulbs are OK, disconnect the connectors from the back-up light switch.
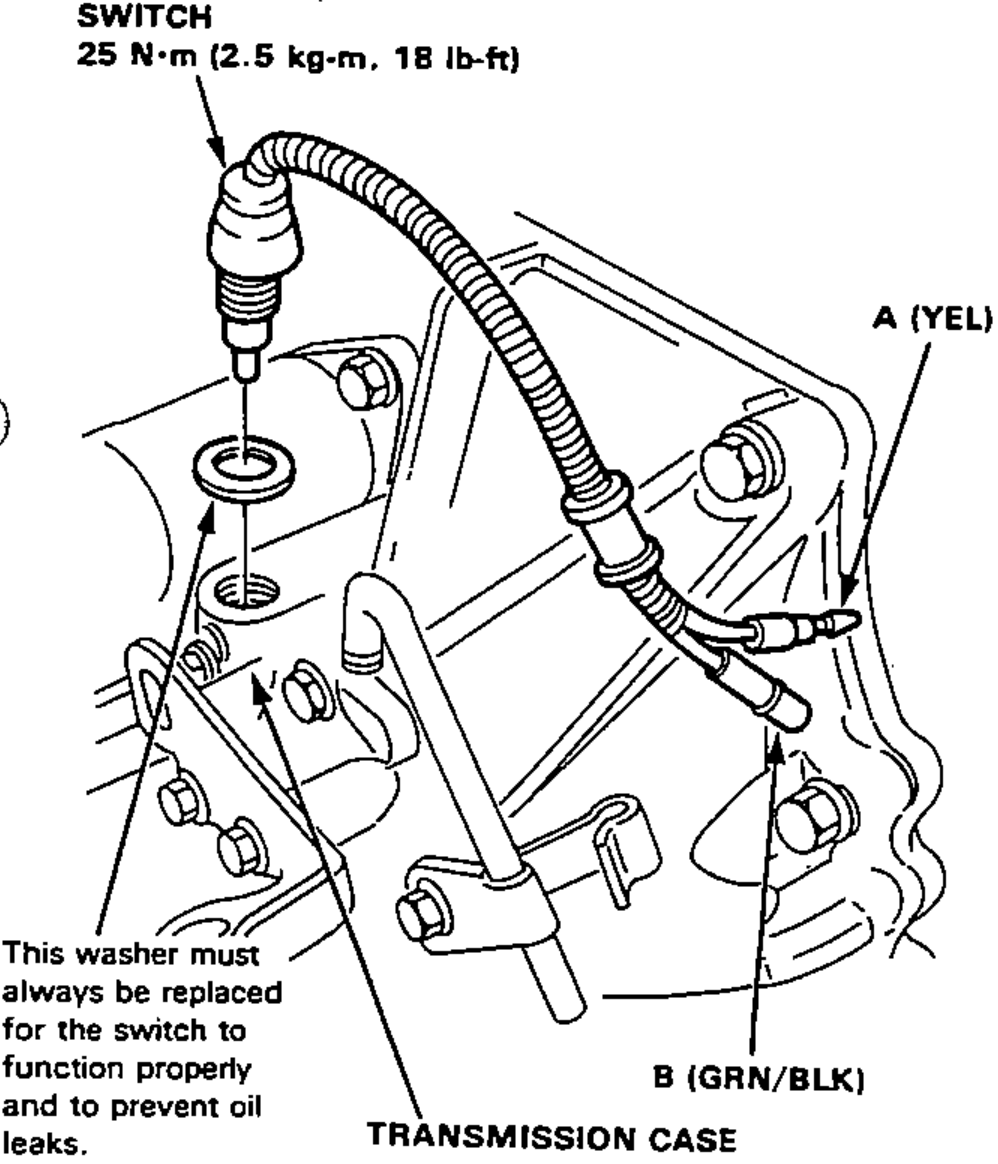
- 4Check for continuity between the A and B wires with the switch installed to the transmission case. There should be continuity as the select lever engages "R"
| Specification | Value |
|---|---|
| Switch (back-up light switch) | 25N·m |
Switch (back-up light switch)
25N·m
Replacement
- 1Remove the rear panel lining.
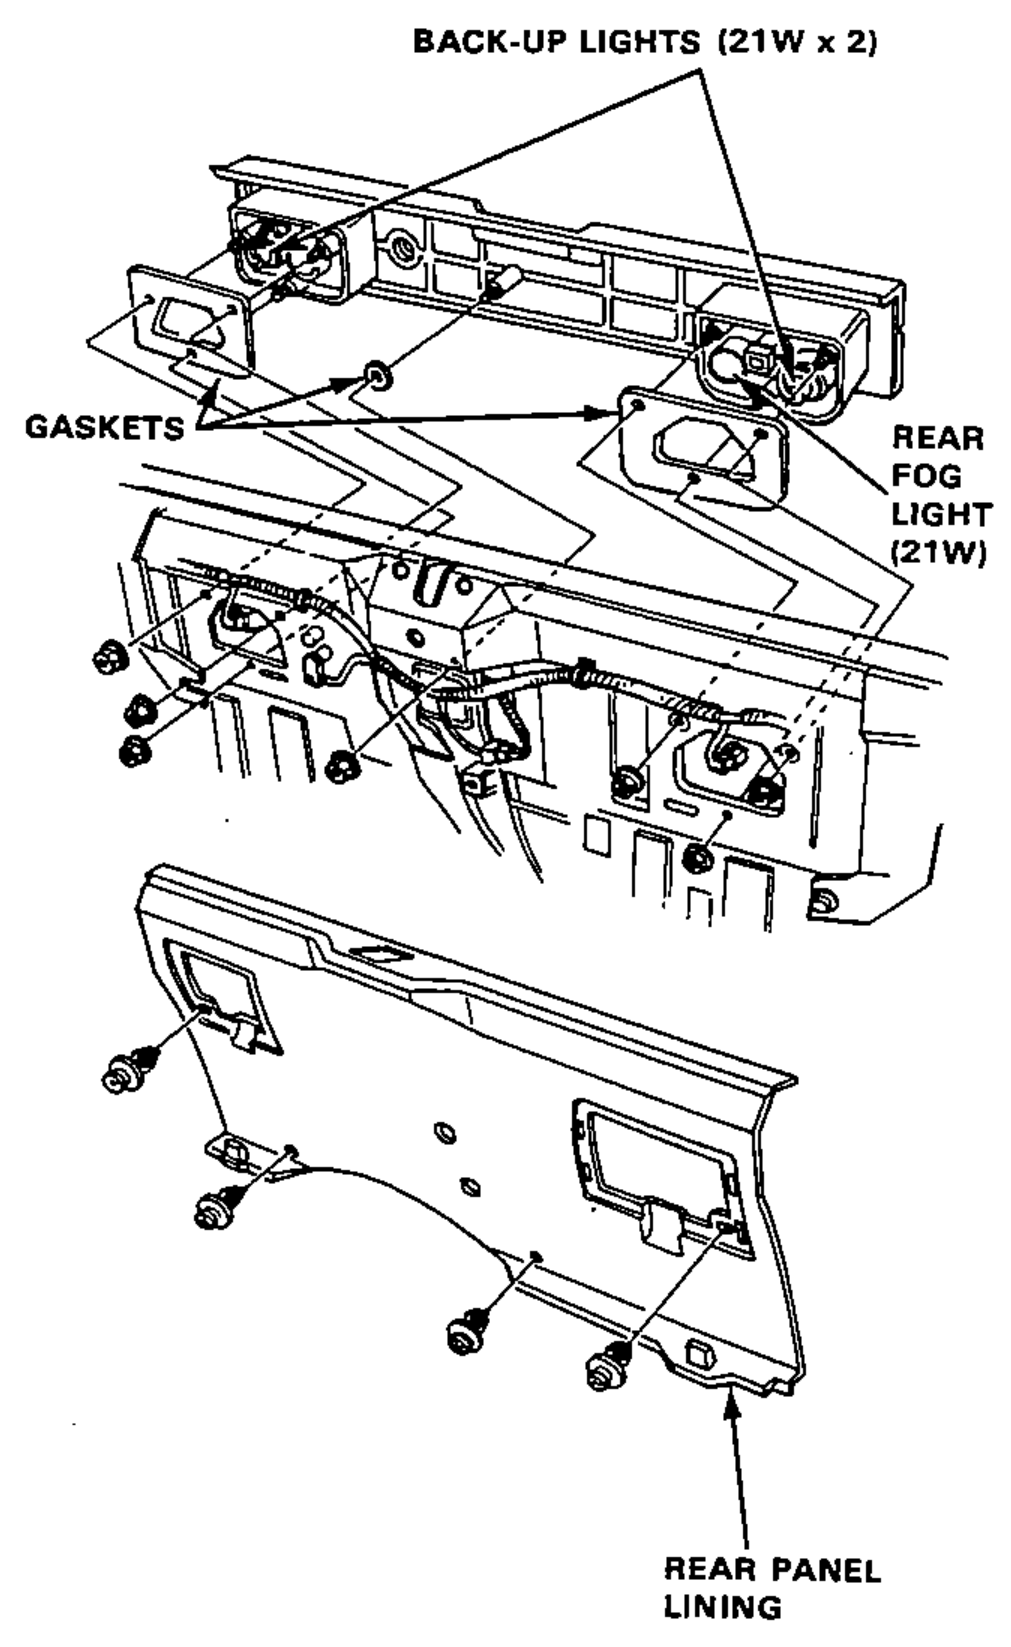
- 2Disconnect the 4-P connectors from behind the back-up lights.
- 3Remove the 7 mount nuts and the back-up light assembly.
- 4Inspect the gaskets; replace if distorted or overly compressed.