
Stereo Sound System - Unit Removal / Unit Terminals
16-117prose procedureTwo mounting styles: A-Type (spring-clip retained) and B-Type (screw retained).
Unit Removal
A-Type:
B-Type:
- 1Remove the front console.
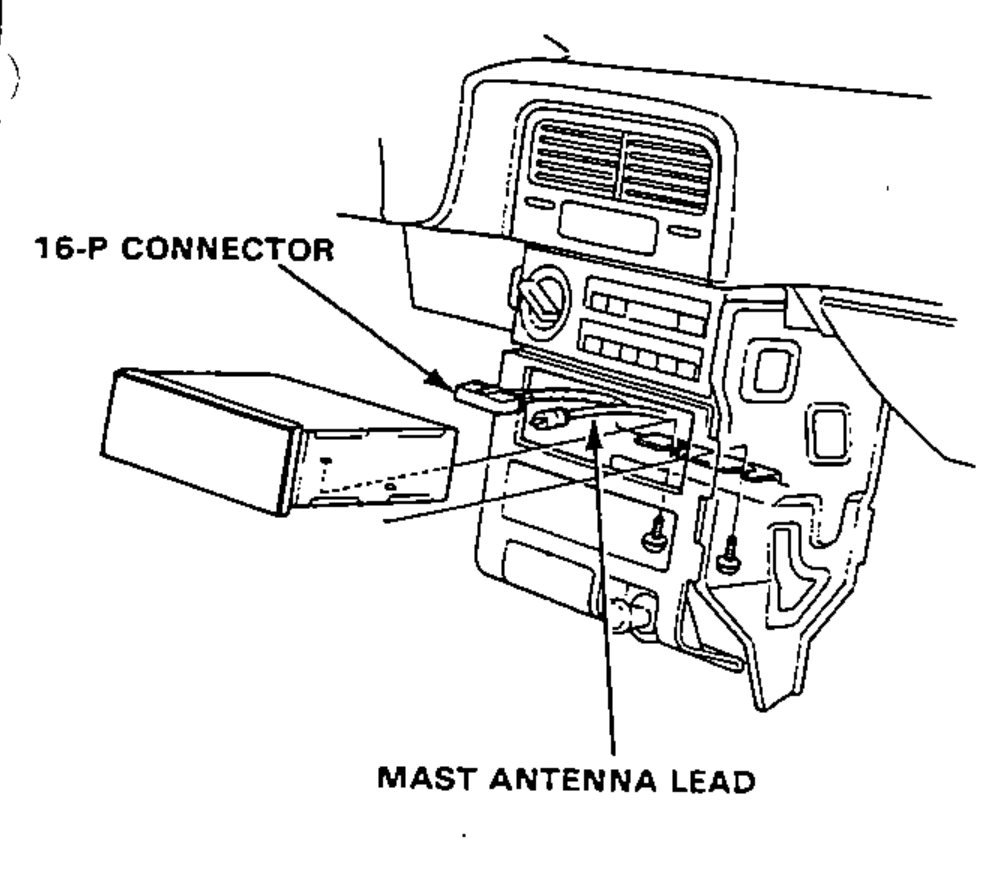
- 2Remove the 2 screws and pull the stereo radio/cassette player out of the center instrument panel, then disconnect the 16-P connector and mast antenna lead from the stereo radio/cassette player.
Unit Terminals
A1
WireRED/GRN
DestinationRight front speaker (+)
A2
WireBLU/GRN
DestinationLeft front speaker (+)
A3
WireRED/BLK
DestinationLight-on signal
A4
WireWHT/BLU
DestinationConstant power (Tuning memory)
A5
WireYEL/RED
DestinationACC (Main stereo power supply)
A6
Wire
Destination(Not used)
A7
WireBLU/YEL
DestinationLeft rear speaker (+)
A8
WireRED/YEL
DestinationRight rear speaker (+)
A9
WireBRN/BLK
DestinationRight front speaker (-)
A10
WireGRY/BLK
DestinationLeft front speaker (-)
A11
Wire
Destination(Not used)
A12
Wire
Destination(Not used)
A13
Wire
Destination(Not used)
A14
WireBLK
DestinationGround
A15
WireGRY/WHT
DestinationLeft rear speaker (-)
A16
WireBRN/WHT
DestinationRight rear speaker (-)