
Latch Switch / Back-Up Lights
16-106wiring diagramTest/Replacement
- 1Open the hatch and remove the rear panel lining.
- 2Disconnect the 2-P connector from the hatch latch.
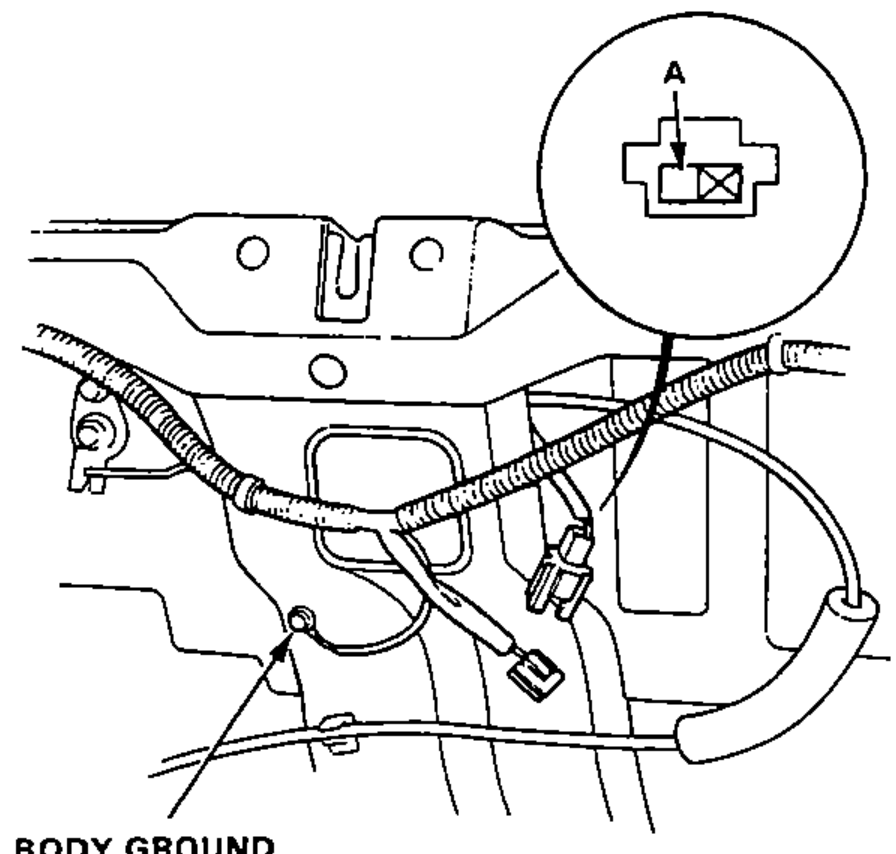
- 3There should be continuity between the A terminal and body ground.
- 4If necessary, remove the 3 bolts to pull out the latch from the trunk, then disconnect the lock rod from the latch.
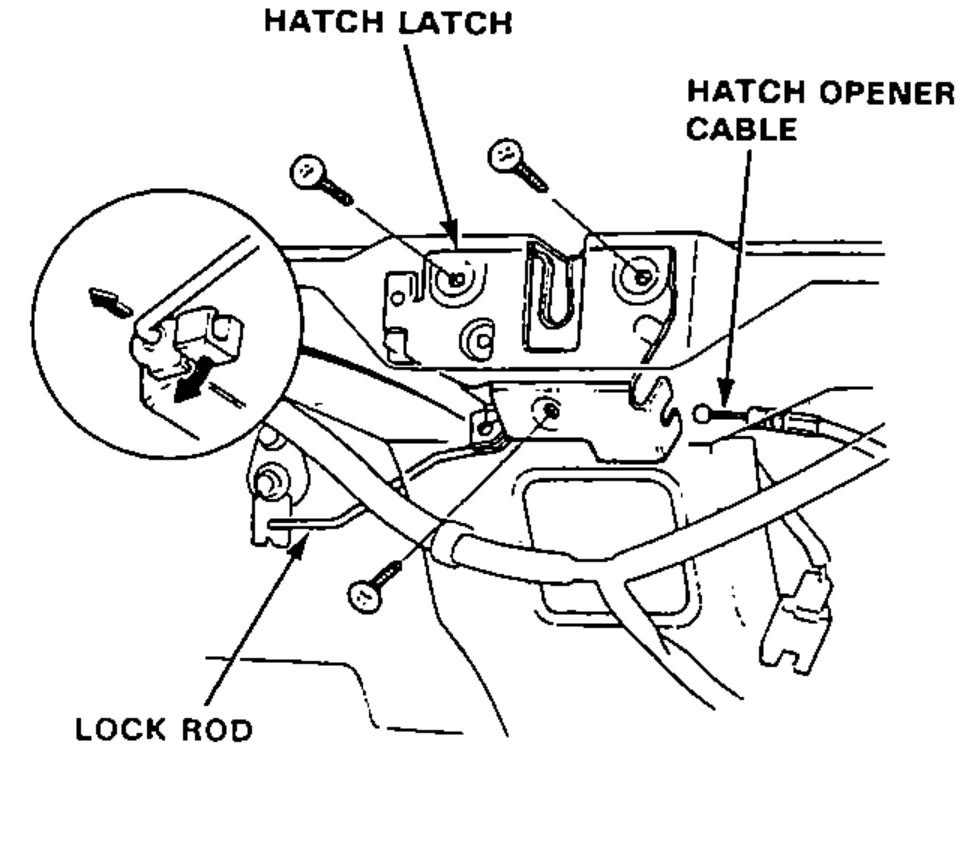
- 5Disconnect the hatch opener cable from the latch.
Back-Up Lights
Circuit Diagram
Wiring Schematic
Components (9)
BatteryMain Fuse Box No.31 (60A)Main Fuse Box No.32 (50A)BAT-A / IG1 junctionDash Fuse Box No.1 (10A)Back-Up Light Switch (on the transmission case)Back-Up Lights (21W x 2)Ground G511Ground G551
Connections (8)
Battery
Battery:+Main Fuse Box No.31 (60A)??
Main Fuse Box No.31 (60A)
Main Fuse Box No.31 (60A)Main Fuse Box No.32 (50A)??
Main Fuse Box No.32 (50A)
Main Fuse Box No.32 (50A)BAT-A / IG1 junction:BAT-AWhite with black stripe
BAT-A / IG1 junction
BAT-A / IG1 junction:IG1Dash Fuse Box No.1 (10A)Yellow
Dash Fuse Box No.1 (10A)
Dash Fuse Box No.1 (10A)Back-Up Light Switch (on the transmission case):AYellow
Back-Up Light Switch (on the transmission case)
Back-Up Light Switch (on the transmission case):BBack-Up Lights (21W x 2)Green with black stripe
Back-Up Lights (21W x 2)
Back-Up Lights (21W x 2)Ground G511Black
Back-Up Lights (21W x 2)Ground G551Black
NOTE
Back-up lights circuit routes through the main wire harness, rear wire harness, and engine wire harness (harness boundaries marked with YEL and GRN/BLK). The back-up light switch is on the transmission case.