
Horns - Circuit Diagram / Horn Test / Switch Test
16-123wiring diagramCircuit Diagram
Wiring Schematic
Components (9)
BATTERYMAIN FUSE BOXNo.35 (15A)BRAKE LIGHT CIRCUITHORN (LOW)HORN (HIGH)CONTACT RINGHORN SWITCHGround
Connections (8)
BATTERY
BATTERY:+MAIN FUSE BOX:No.35 (15A)??
No.35 (15A)
No.35 (15A)BRAKE LIGHT CIRCUITWhite with Green stripe
No.35 (15A)HORN (LOW)White with Green stripe
No.35 (15A)HORN (HIGH)White with Green stripe
HORN (LOW)
HORN (LOW)CONTACT RINGBlue with Red stripe
HORN (HIGH)
HORN (HIGH)CONTACT RINGBlue with Red stripe
CONTACT RING
CONTACT RINGHORN SWITCH??
HORN SWITCH
HORN SWITCHGround??
Horn Test
- 1Remove the front bumper.
- 2Disconnect the wires from the horn.
- 3Test the horn by connecting battery voltage to the A and B terminals. The horn should sound.
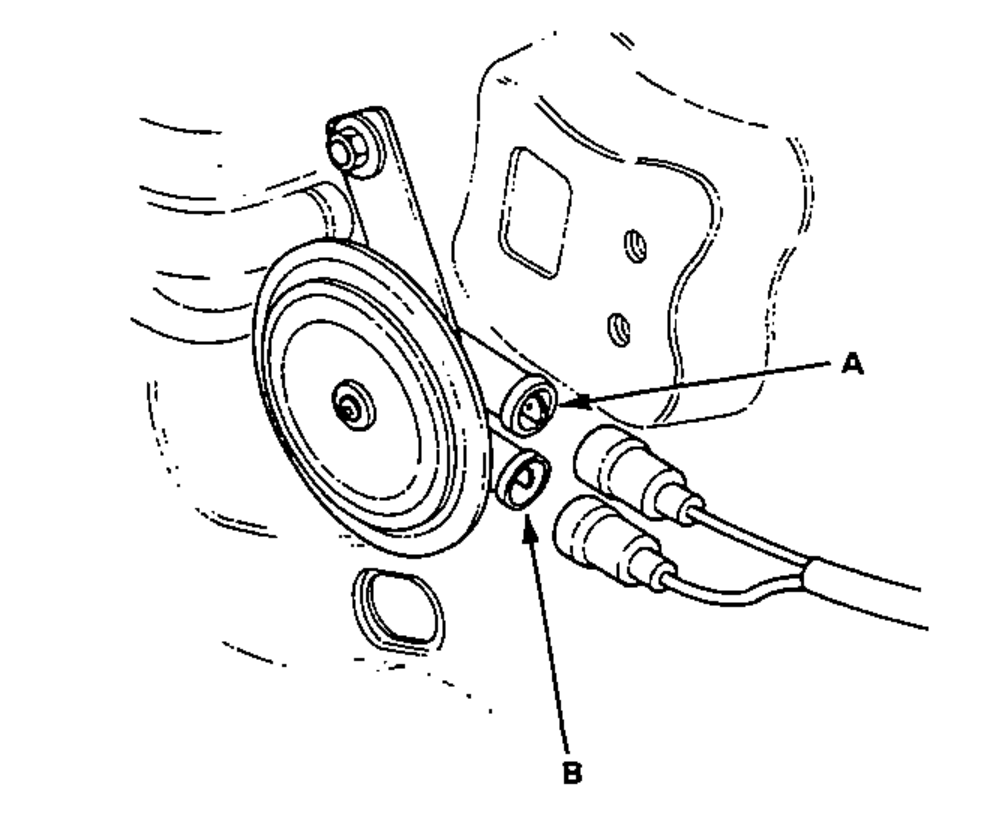
- 4If the horn fails to sound, replace it.
Switch Test
- 1Remove the steering wheel, then turn it over.
- 2Check for continuity between the contact ring and hub core on the steering wheel with the horn switch pressed. There should be continuity.
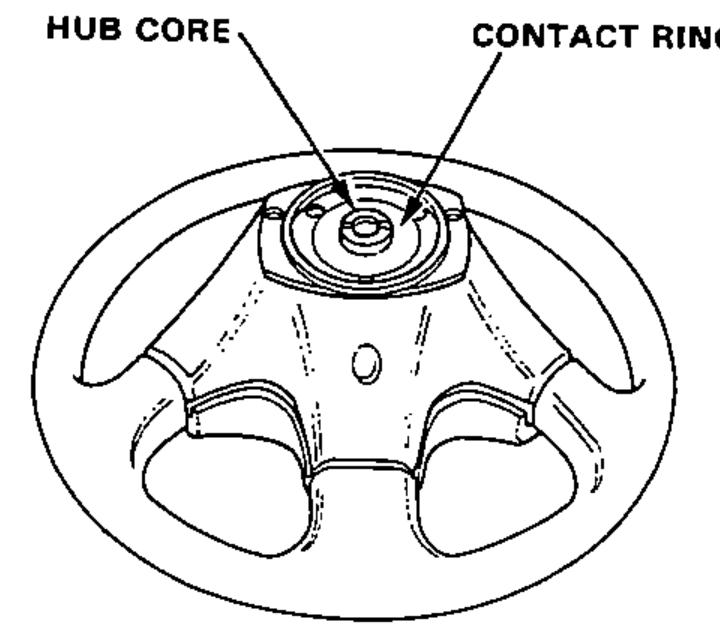
- 3If there is no continuity, repair the horn switch.