
Rear Window Defogger - Function Test / Defogger Wire Repair
16-131prose procedureFunction Test
CAUTION
Be careful not to scratch or damage the defogger wires with the tester probe end.
- 1Check for voltage between the positive terminal and body ground with the ignition switch and the defogger switch ON. There should be battery voltage.
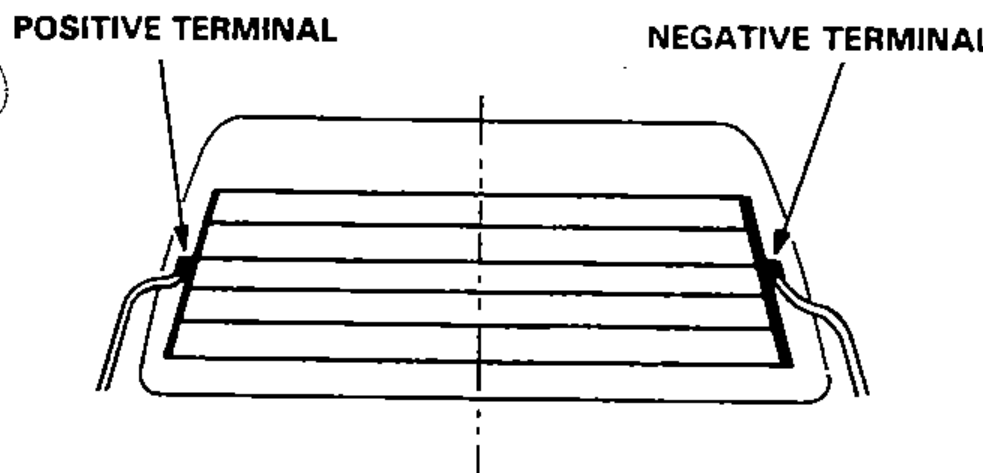
- 2Check for continuity between the negative terminal and body ground. If no continuity, check for open in the defogger ground wire.
- 3Lightly touch the voltmeter positive probe to the center of each defogger wire, and the negative probe to the negative terminal. There should be approximately 6 V with the ignition switch and the defogger switch ON.
Defogger Wire Repair
NOTE
Repair section must be no longer than one inch.
- 1Lightly rub area around the break with the fine steel wool, then clean with alcohol.
- 2Carefully mask above and below the broken portion defogger wire with cellophane tape.
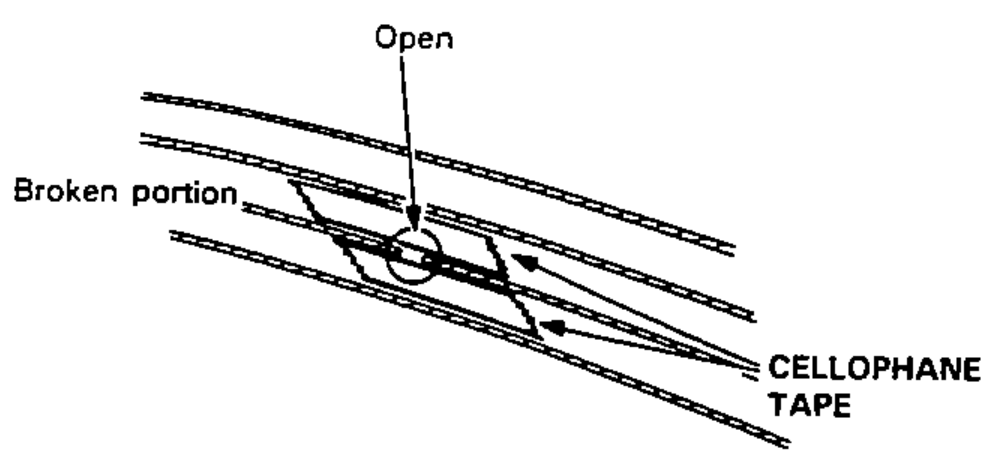
- 3Using a small brush, apply heavy coat of silver conductive paint extending about 1/8 in. on both sides of the break. Allow 30 minutes to dry.NOTE: Throughly mix paint before use.
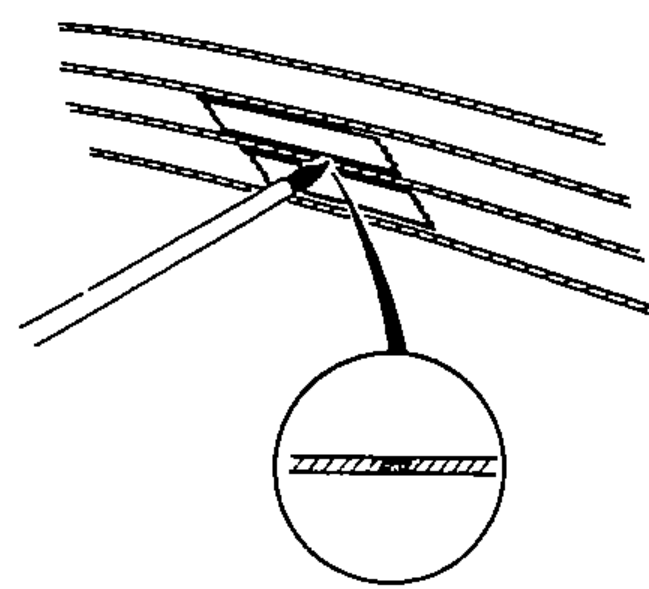
- 4Check for proper operation with a voltmeter (approximately 6 V at the mid-point).
- 5Apply a second coat of paint in the same manner. Dry 3 hours before removing tape.