
Armature Inspection and Test (cont'd)
16-41prose procedureCommutator mica depth specs differ between ND and Mitsuba starter types.
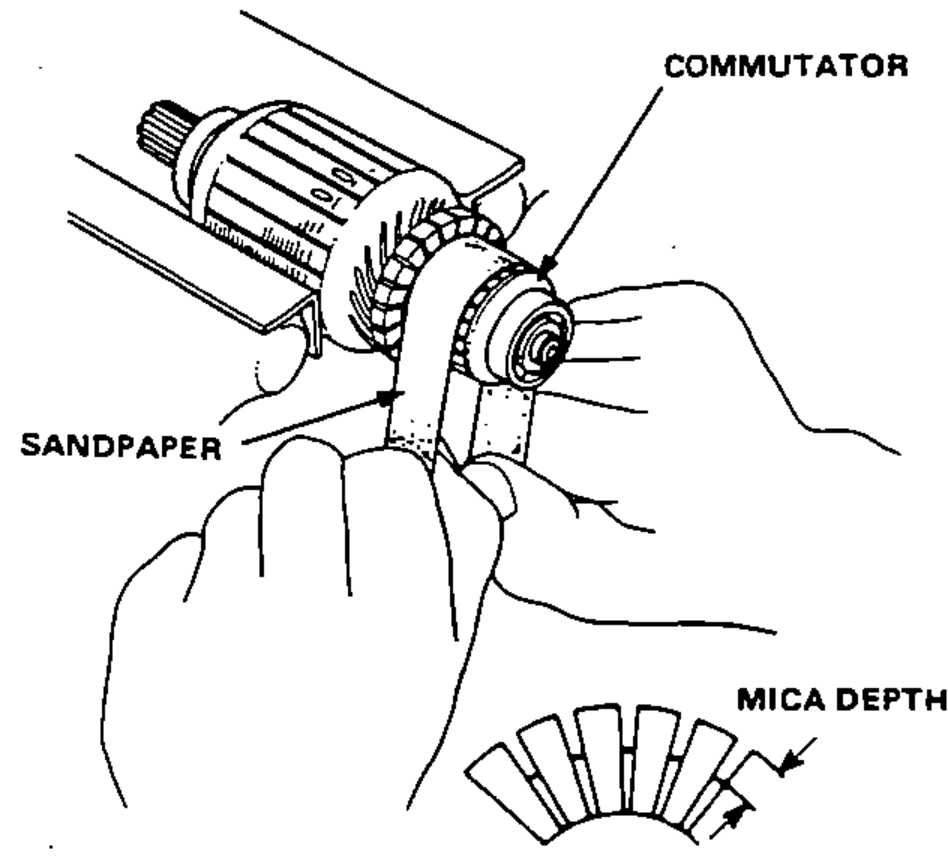
- 4If surface is dirty, recondition it with a #500 or #600 sandpaper. Then, check mica depth. If necessary, undercut mica with a hacksaw blade to achieve proper depth.
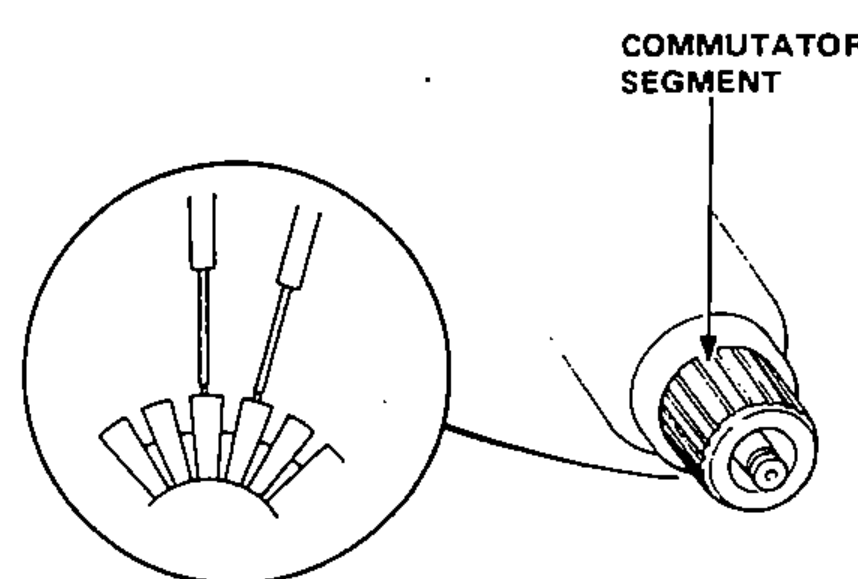
- 5Check for continuity between each segment of the commutator. If an open circuit exists between any segment, replace the armature.
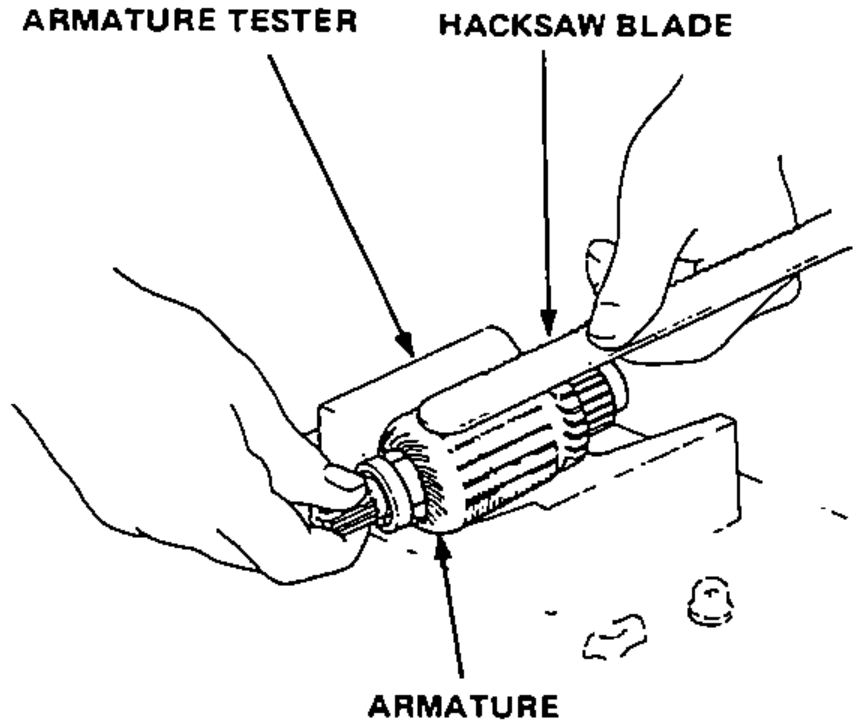
- 6Place the armature on an armature tester. Hold a hacksaw blade on the armature core. If the blade is attracted to the core or vibrates while core is turned, the armature is shorted. Replace the armature.
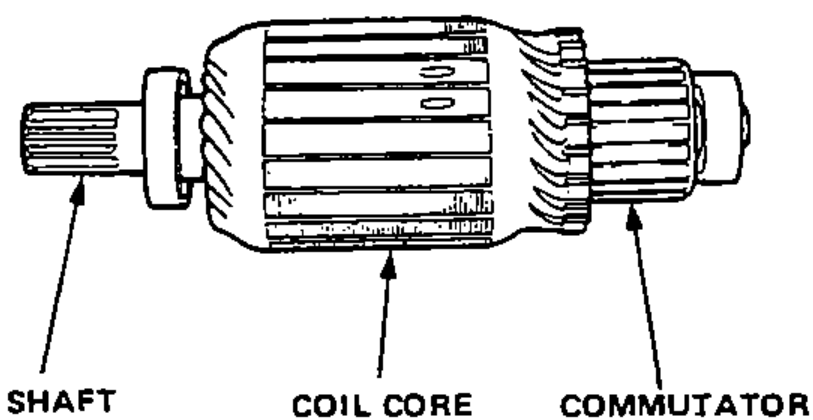
- 7With an ohmmeter, check that no continuity exists between the commutator and armature coil core, and between the commutator and armature shaft. If continuity exists, replace the armature.
Commutator Mica Depth
ND
Standard (New)0.5-0.8 mm (0.020-0.031 in)
Service Limit0.2 mm (0.008 in)
Mitsuba
Standard (New)0.4-0.5 mm (0.016-0.020 in)
Service Limit0.15 mm (0.006 in)